Add a row
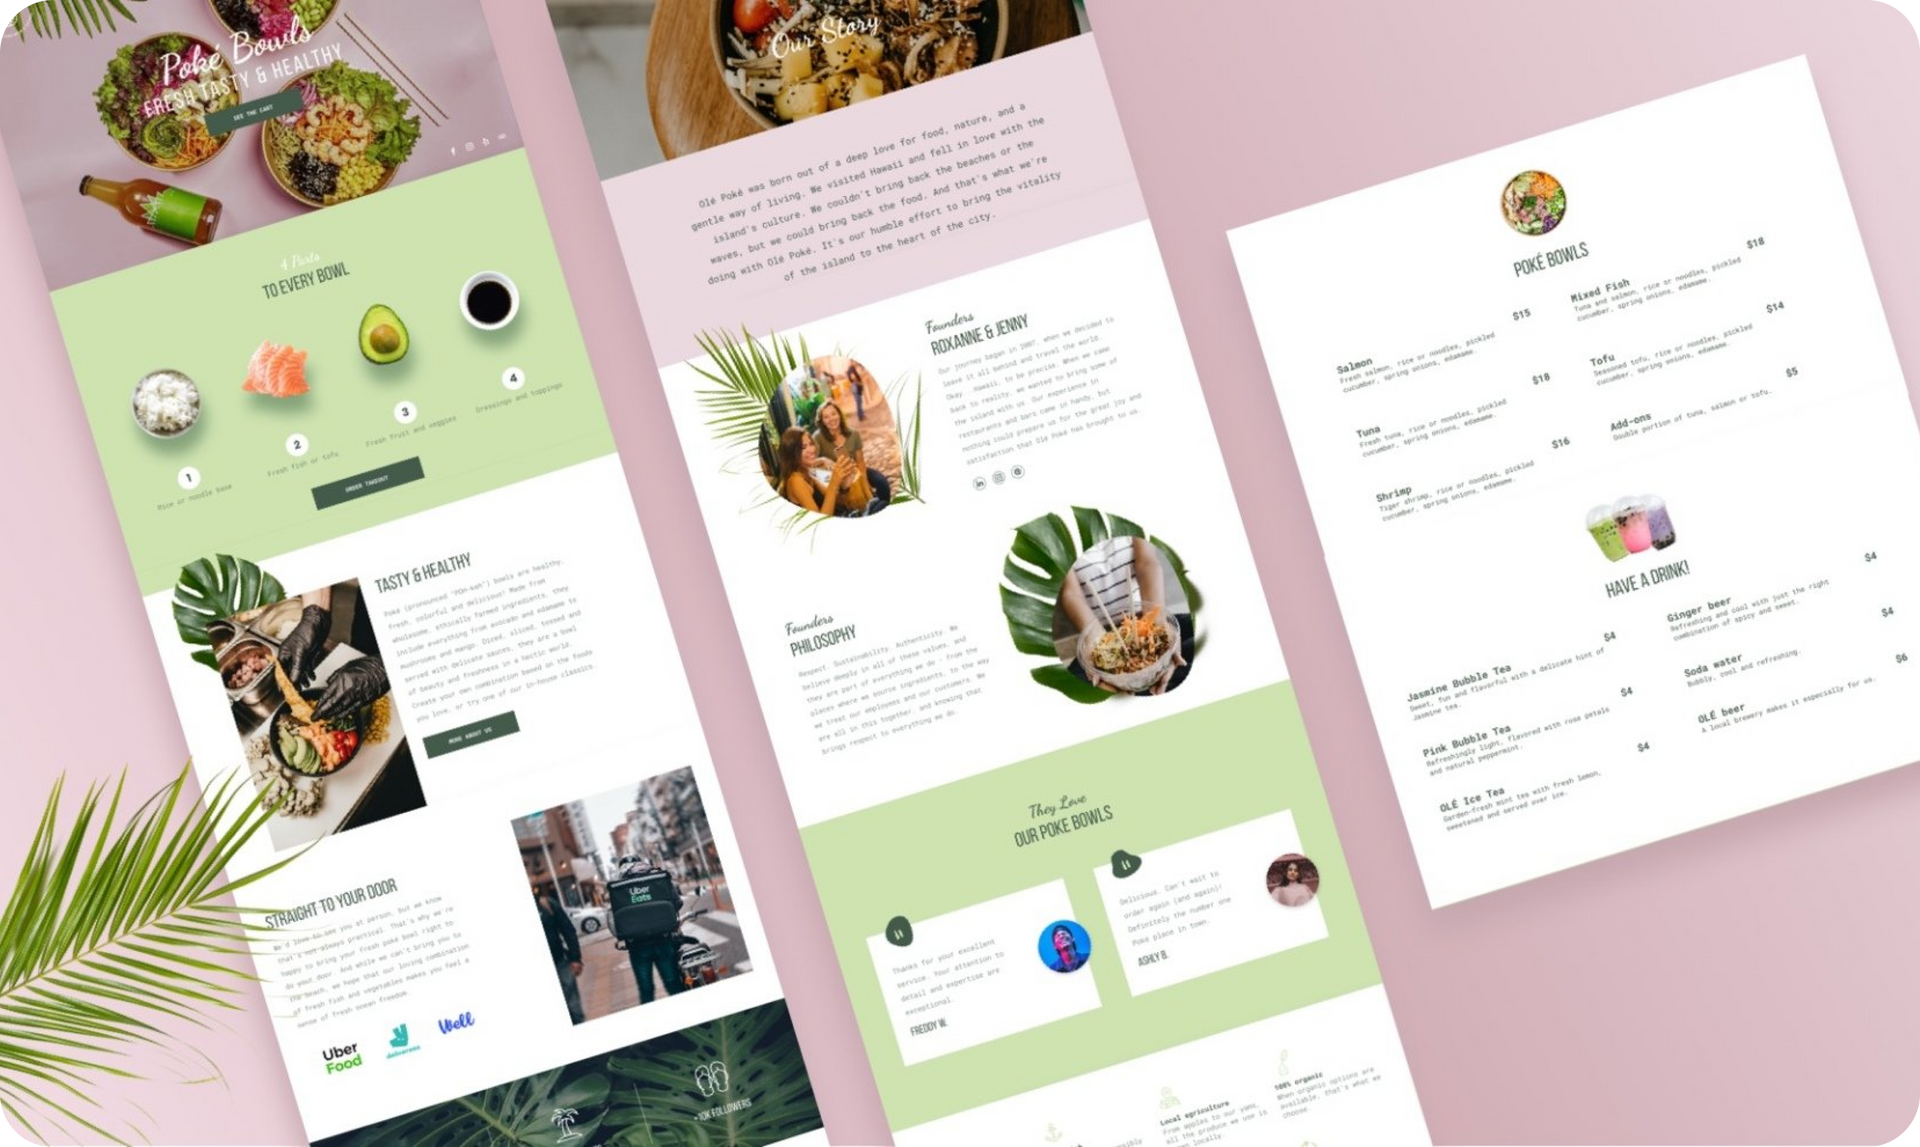
1. Add a row and make sure the background color is transparent.
2. Set the top spacing to 0px and bottom spacing to 100px.
3. Add an additional column in the row, so you have 2 columns.
4. Slide the divider between the two columns so the ratio of the columns is 1:2.
In the left column
1. Reset all spacing to 0px.
2. Add an image widget. Upload a leaf image with a transparent background. Align it left.
3. Add an image widget below this image. Add a good-quality, vertical image. Align it center and set the top margin to -150px so this image overlaps the top one.
In the right column
1. Add 3 widgets: Title, text and button. Align them left and fill with content.
2. Drag the widgets down so that they sit a bit lower than the image on the left.
Overlap with the row above
1. Go back to the Row editor and set the top margin to -60px so the leaf overlaps the row immediately above this one.
Add animation
1. Leaf image: Right click > Entrance animation> select
Fade in from Left
2. Right Column: Right click > Entrance animation > select
Bounce in
3. Make sure everything looks just right, then move to the mobile view.
Adjust for mobile
1. Leaf image: Reduce the image size width and align it left.
2. Vertical image: Reduce the width and set the top margin to -140px so it overlaps the leaf image. Align the widget to center.
3. At the row level: Set the top margin to -60px so it overlaps the row above.
4. Adjust the spacing of the sections below to make sure everything looks balanced.