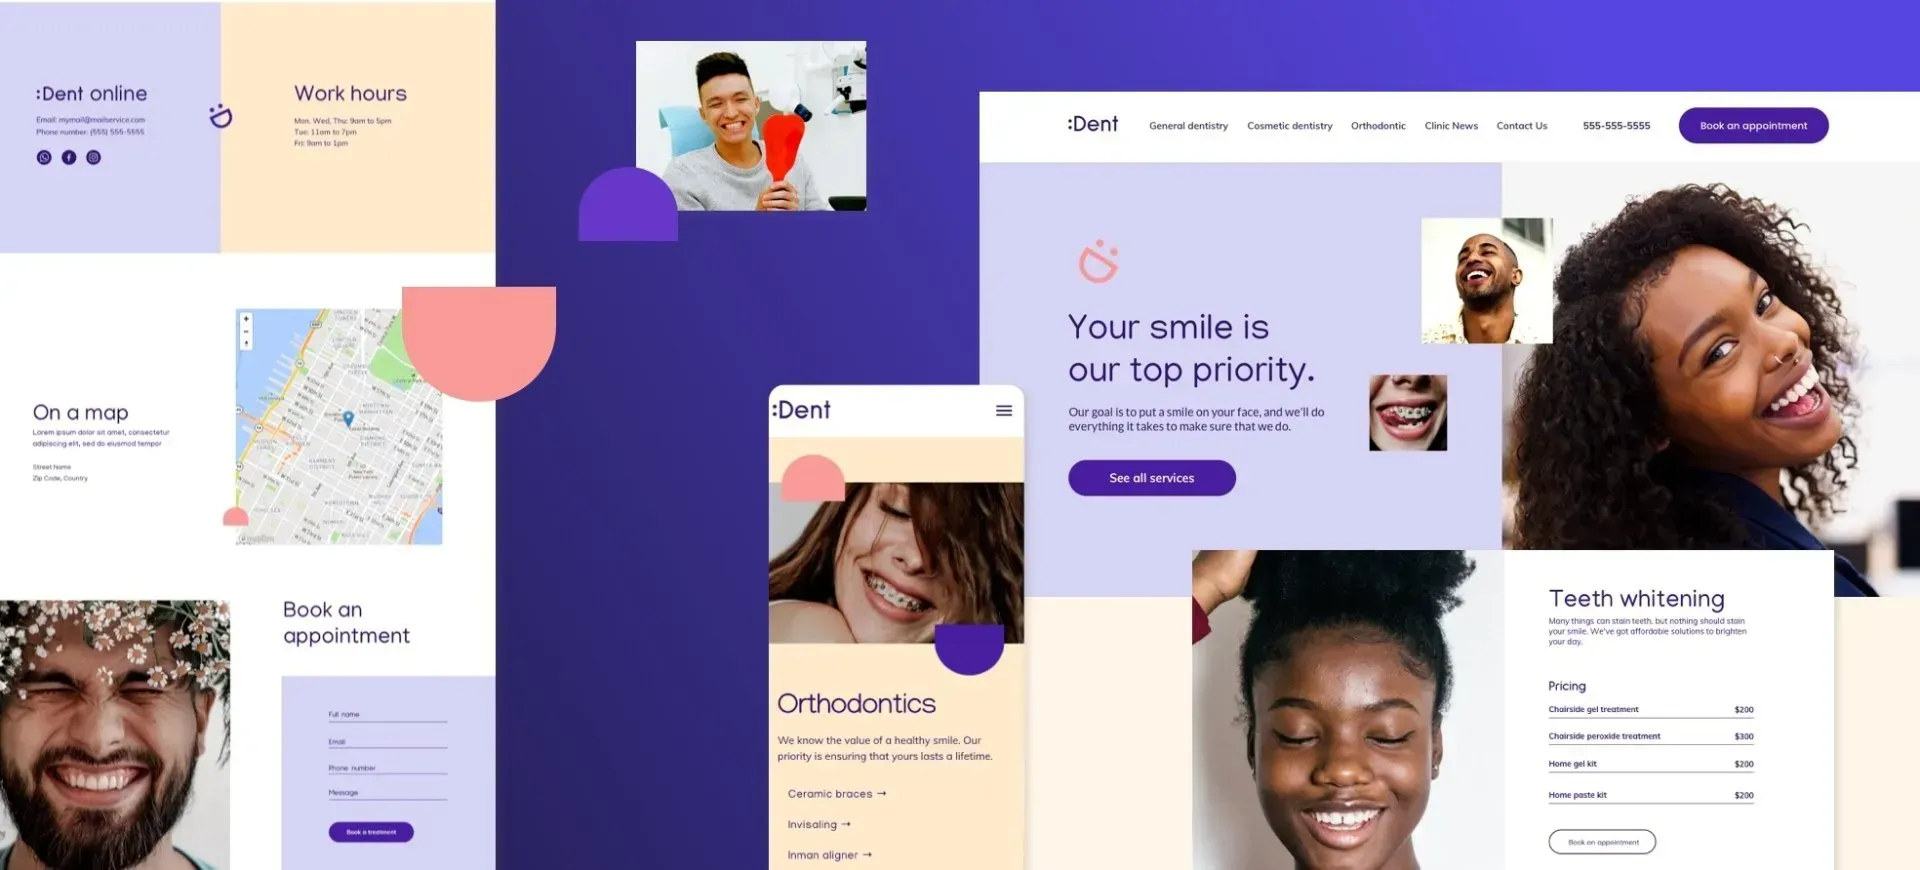
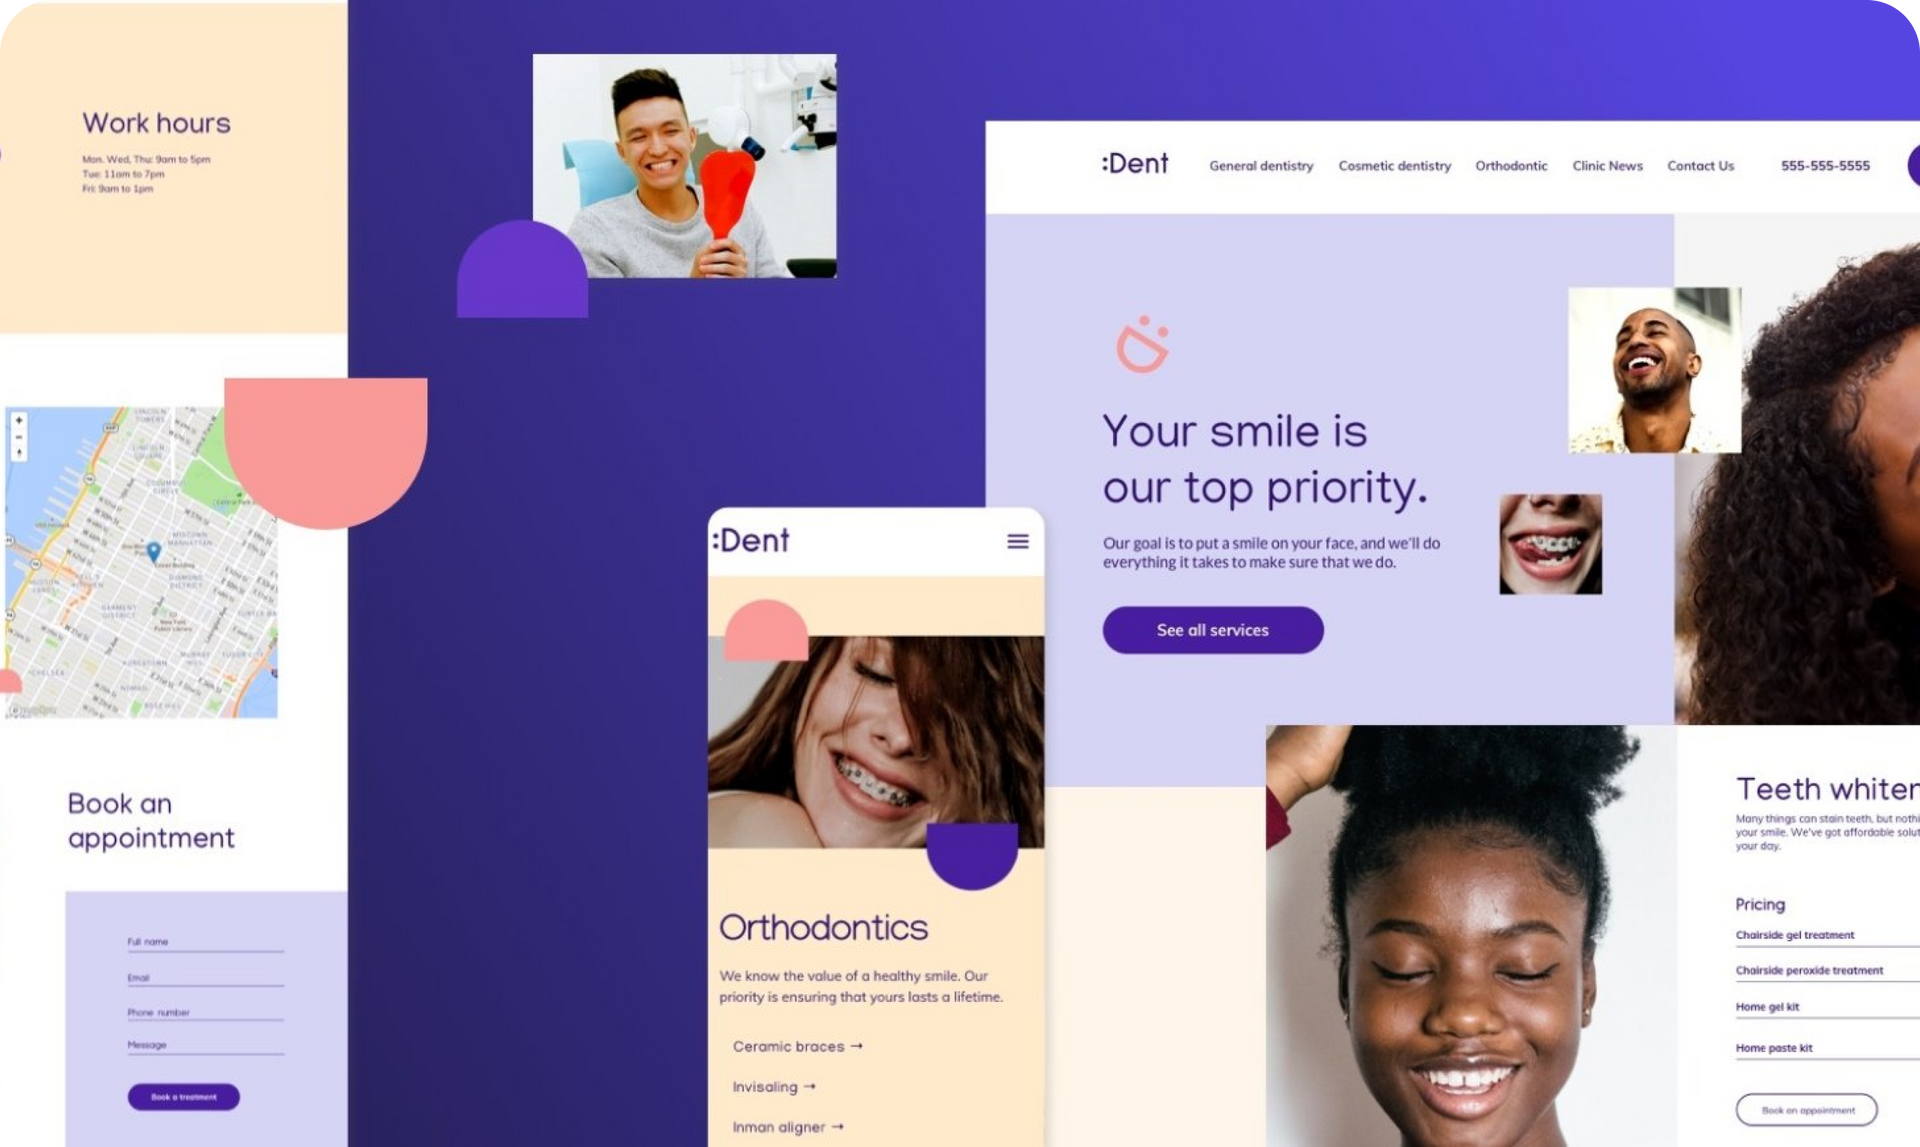
A few great things to notice in this template
Before & After widget in testimonials:
If you’re not using the Before & After widget yet, now’s the time to start. It’s a great way to show improvements following a treatment or service, suitable for everything from home renovations to manicures and haircuts.
Menu widget:
The menu widget is ideal for any type of complex list, as it gives you room for the list item, a description and a price. In this template, we’ve used it to present a different price lists for each and every service.
FAQ:
The Accordion widget is a great way to answer potential questions in advance, enabling site visitors to find what they are looking for quickly. Moreover, now that the widget includes
FAQ Schema in a simple toggle, you can enable this text to be found quickly and easily by search engines.
Blog:
Blogs are a great way for keeping site content active and up-to-date. For service-oriented websites, they also give site visitors a chance to engage with the business and get a real sense of what it is all about.
How to reproduce the first section on your own
As always, you can save any part of this template as a Section and then use it over again on other websites, but if you want to recreate this section on your own, follow these steps.
(Scroll down to see the video.)
Row
- Add a row below the header and reset padding to 0.
- Set
the background color
to #d5d4f5 and set to full bleed.
- Add 2 columns to the row, so the row has a total of 3 columns.
- Adjust so the middle column is the narrowest.
In column 1
- Set the top and bottom padding to 170px and the left padding to 40px.
- Add an
icon widget and upload an SVG file.
- Set the width and height to 80px, and the color to #fd8d8c. Align it left.
- Add a
text widget below the icon widget.
- Add your text, and set the font to
Sulphur Point. Set the style to Heading 1.
- Add another
text widget,
add your text, and set the font to
Lato.
- Add a
button widget, add text and adjust width, and align it left.
In column 2
- Add an
image widget and set the top margin to 315px.
- Set the width to 120px and align left.
In column 3
- Add a background image and set the position to
Cover
and
Center.
- Add an image widget. Set the top margin to 70px and the left margin to -100px.
- Set the width to 200px. Align the image to the left.
Adjusting for mobile
Move to the mobile view and adjust as follows.
- Resize the
icon widget width and height to 80px. Align it left.
- Set the
row
top padding to 70px and the bottom padding to 0px.
- In the
top column, set the bottom padding to 70px.
- Adjust the
button height to 55px.
- Back in the
row, choose the 3rd layout style.
- In the
left image, set the width to 80px, the top margin to -15px and align left.
- In the
right image, set the width to 125px, the left margin to -90px, the top margin to 100px, and the bottom to 50px.
- In the right column, set the background image to center.

