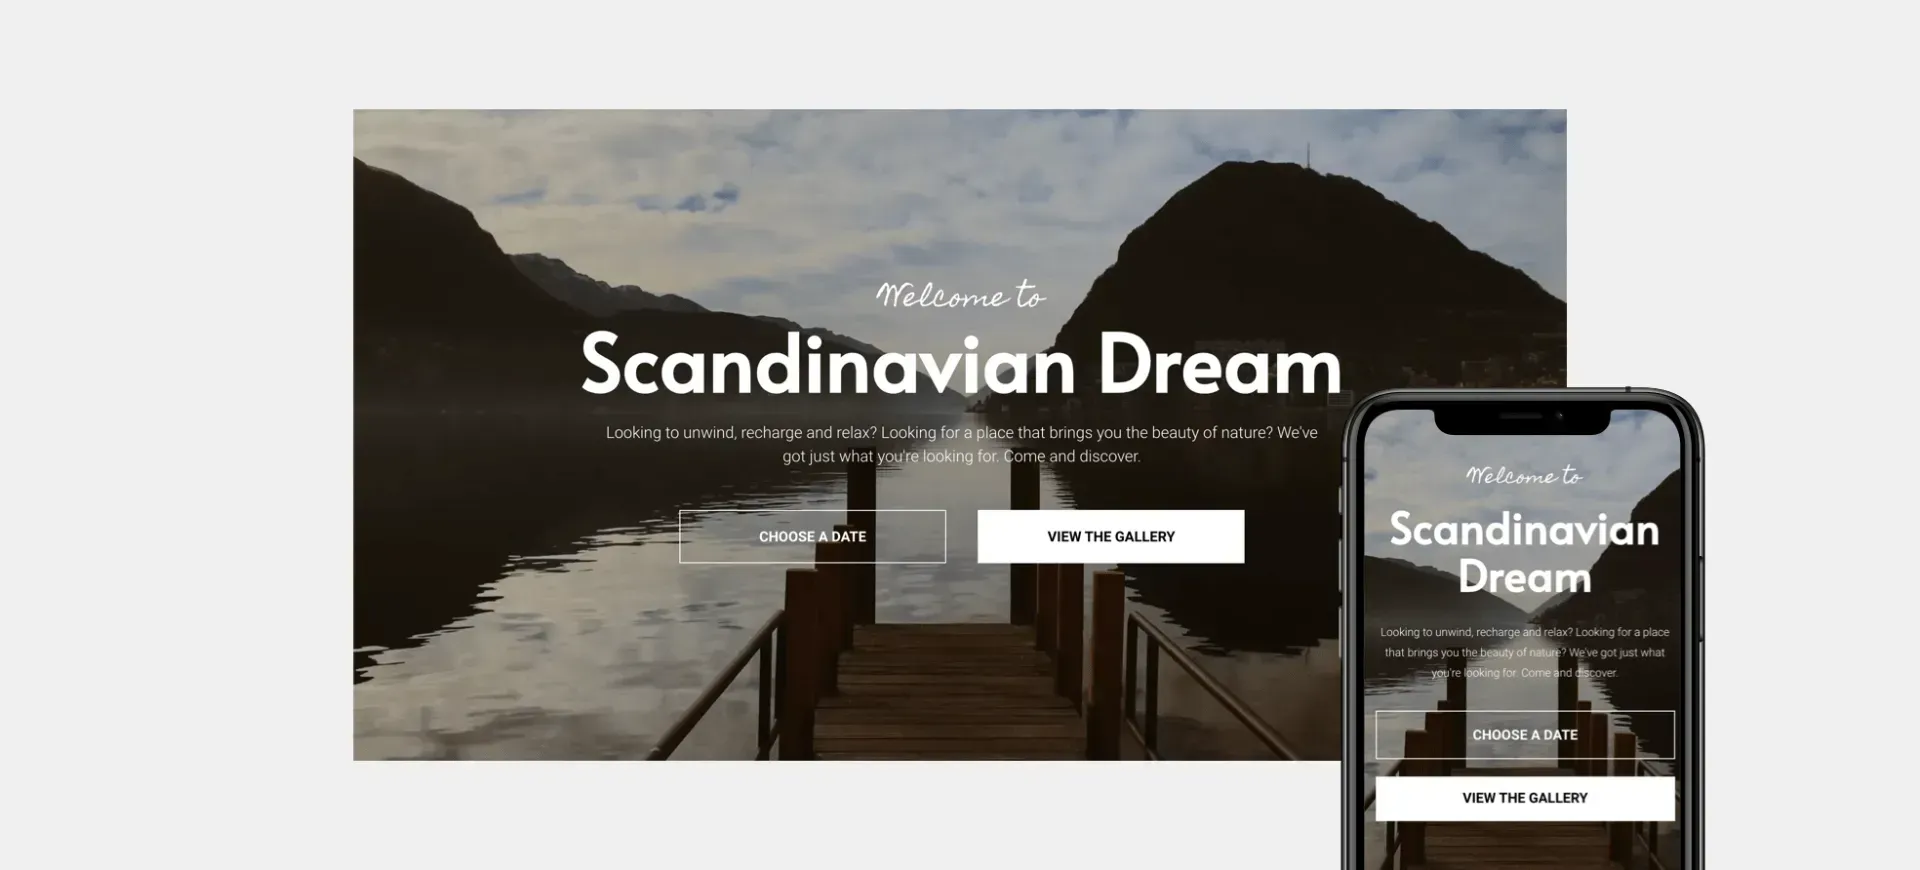
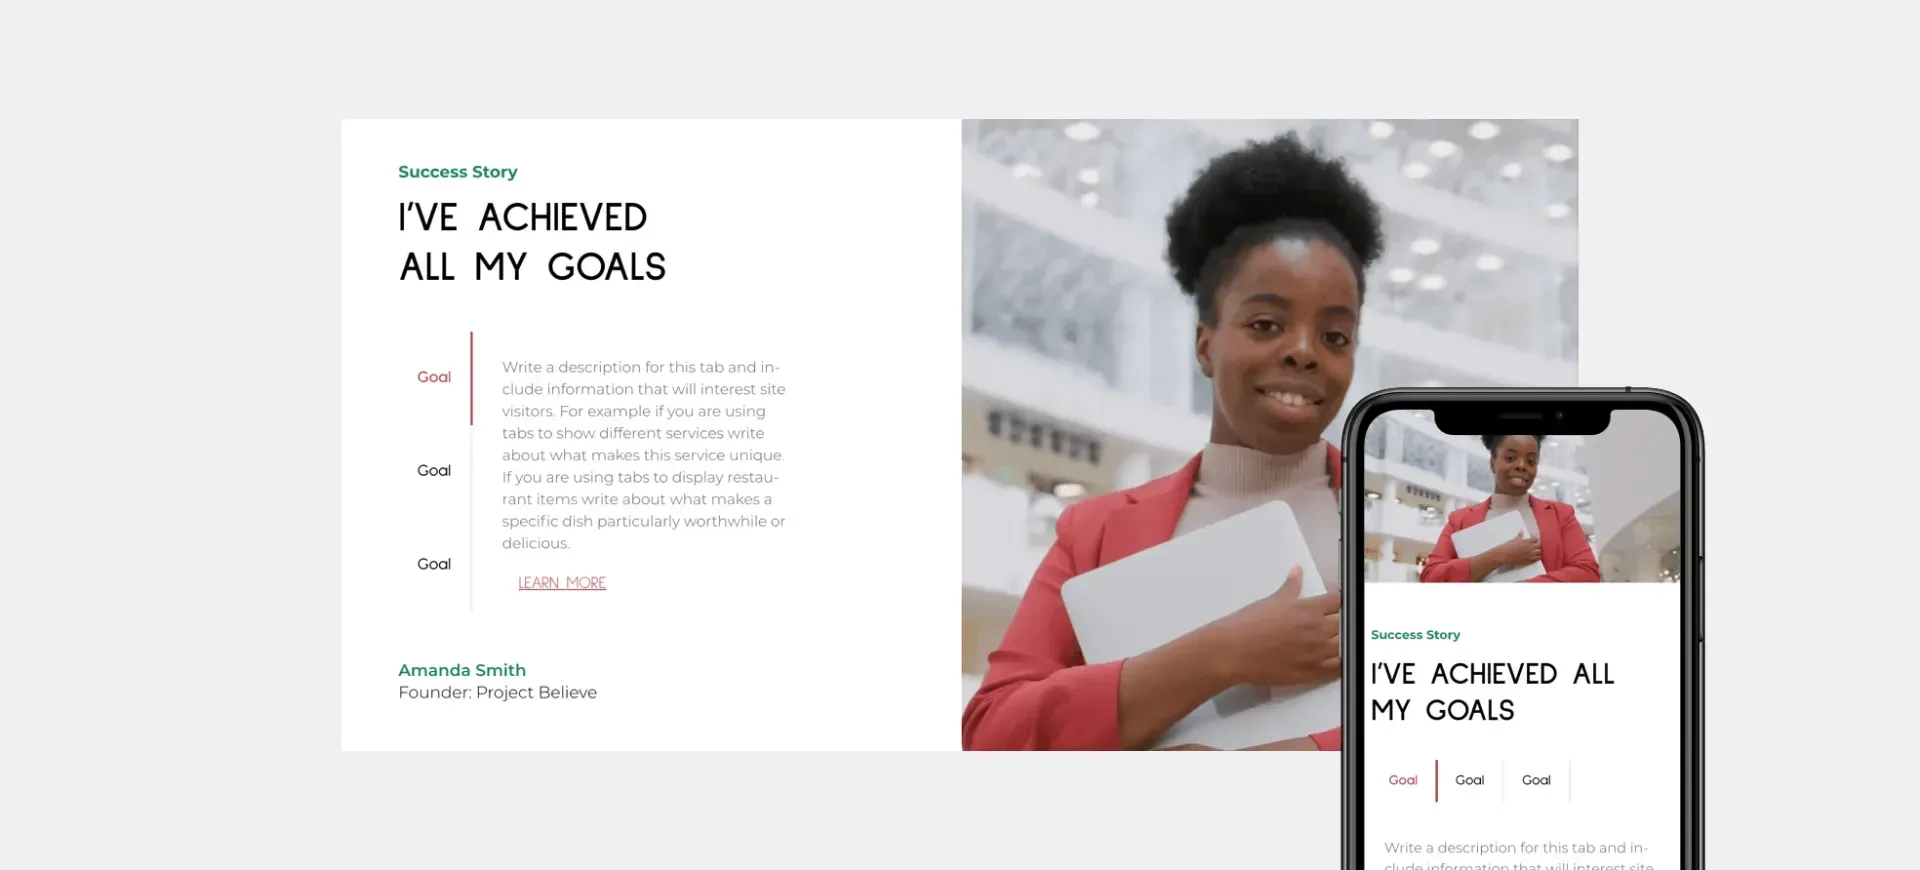
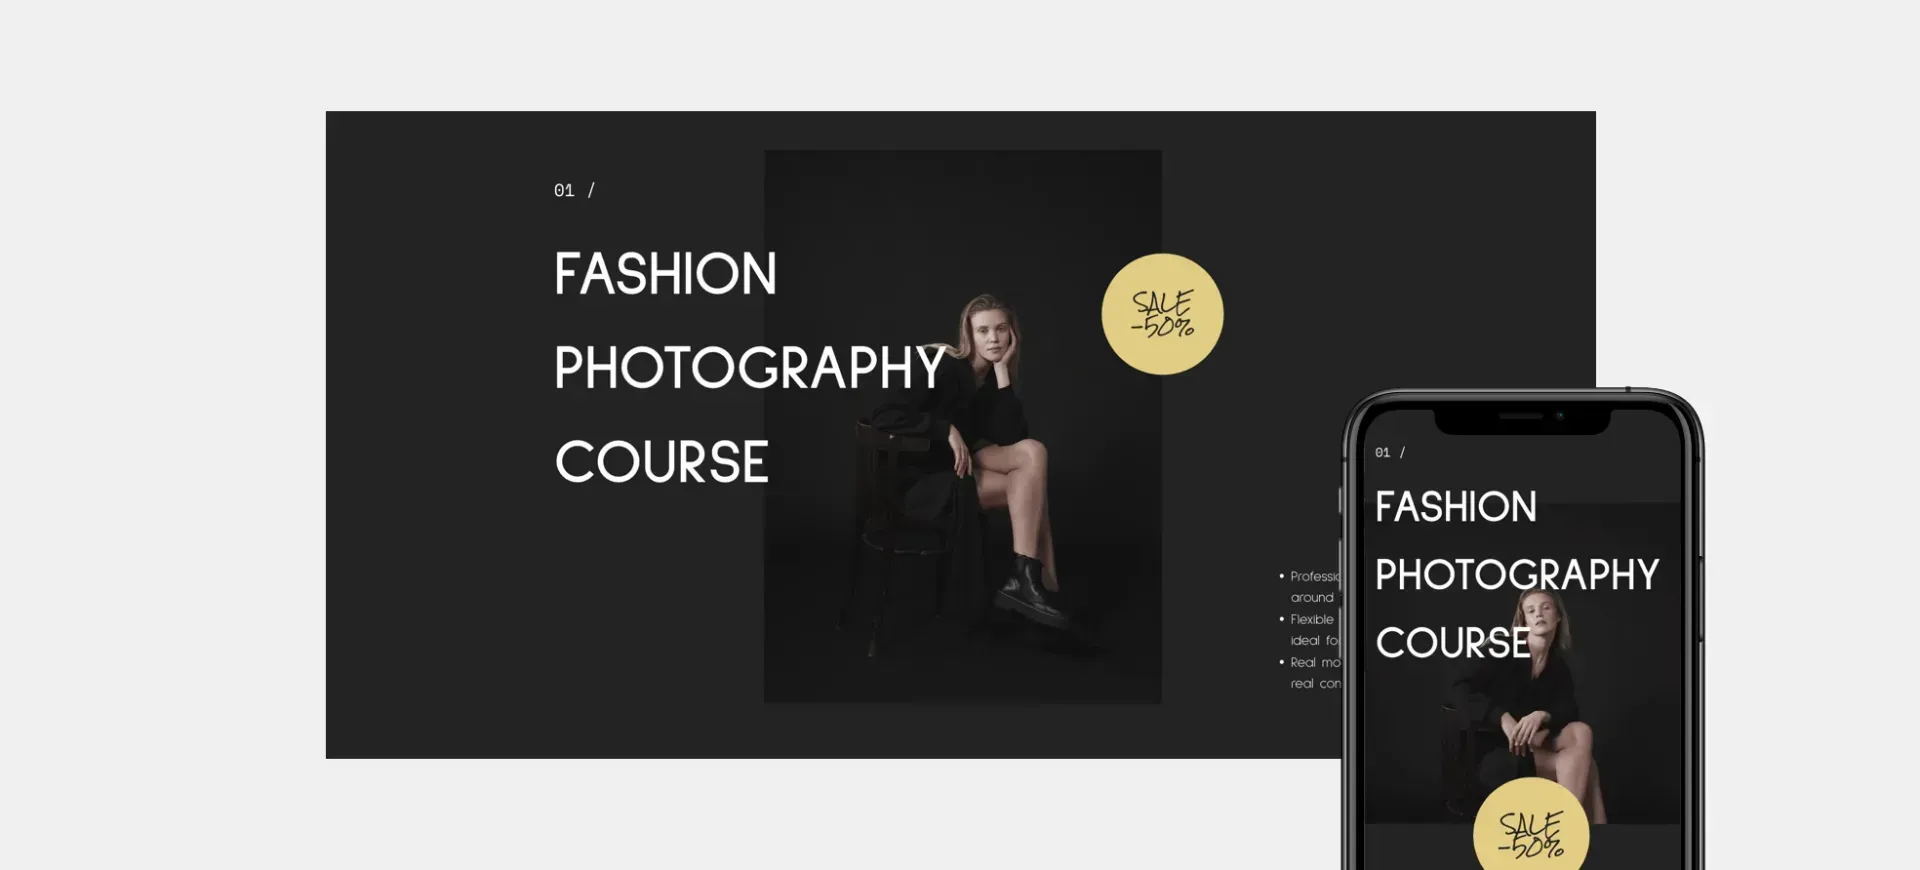
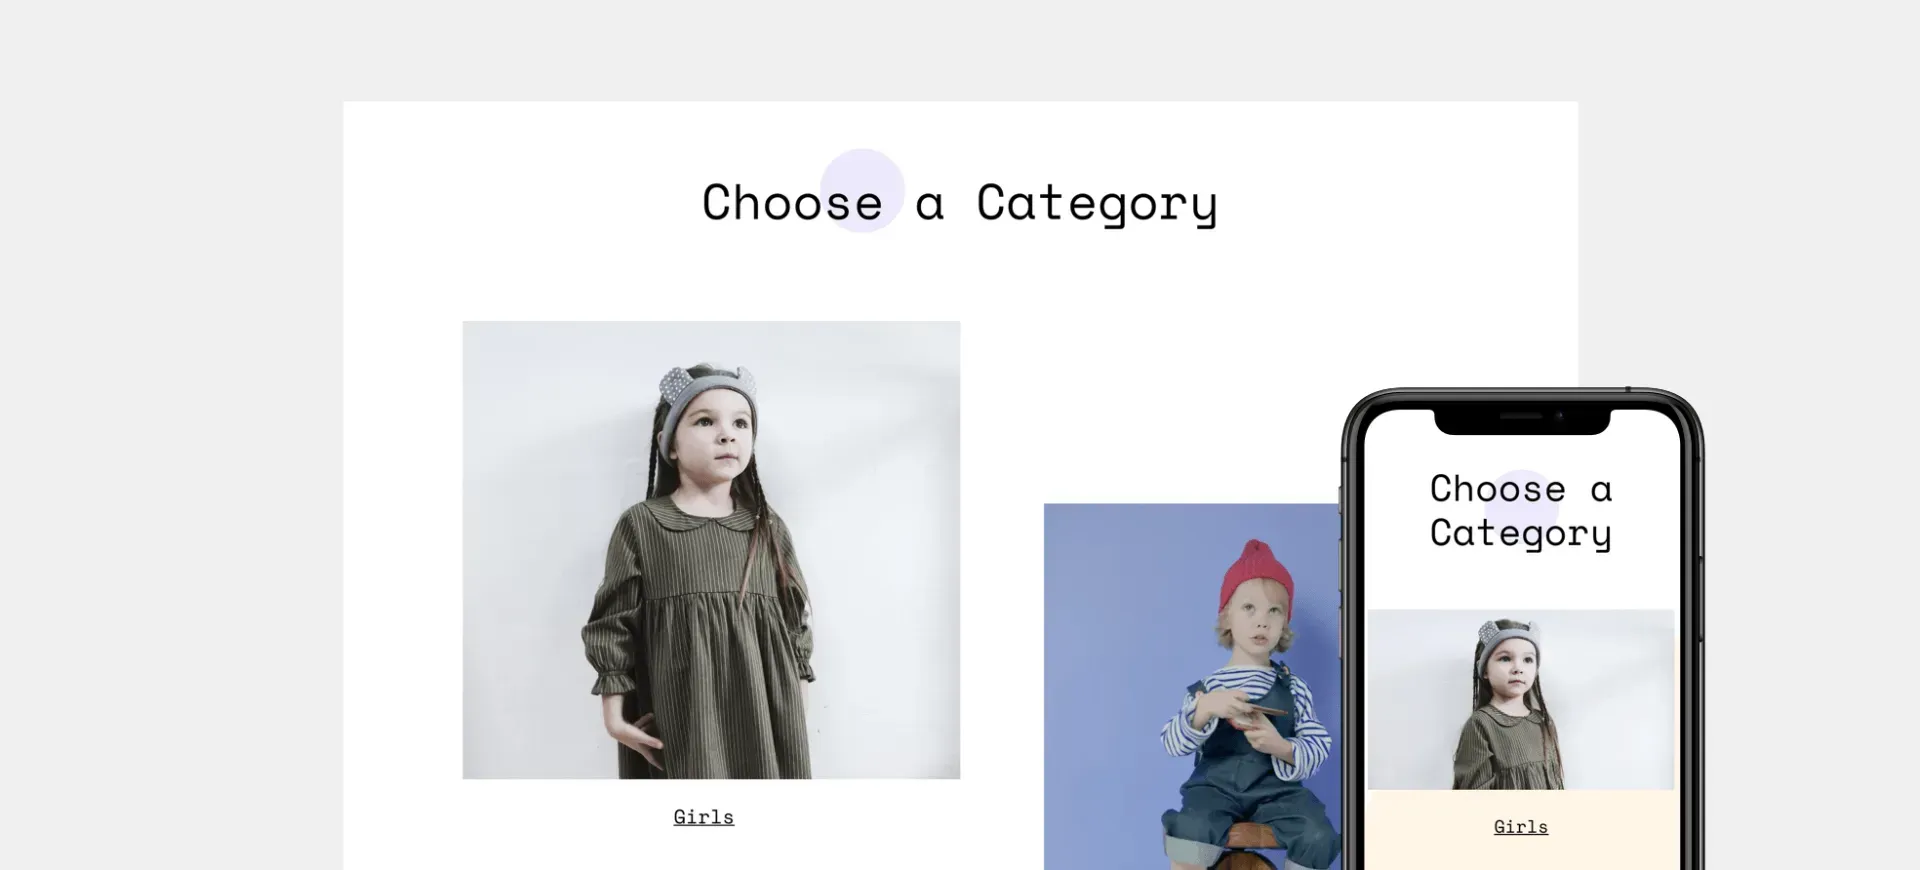
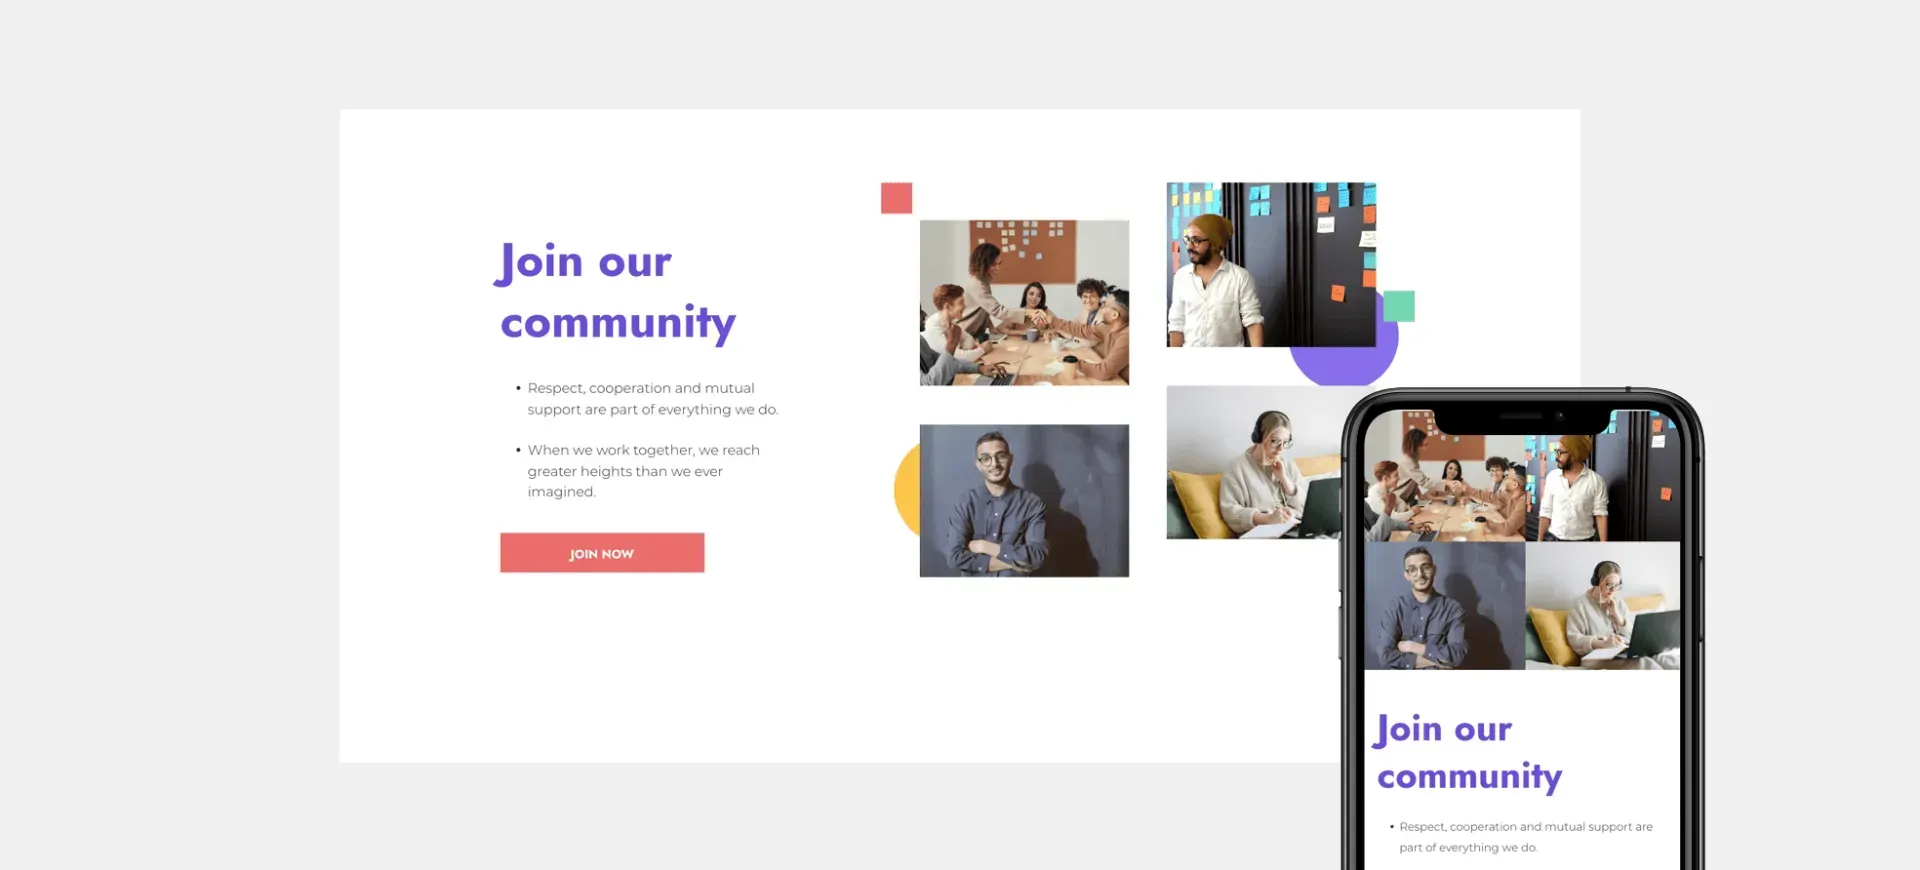
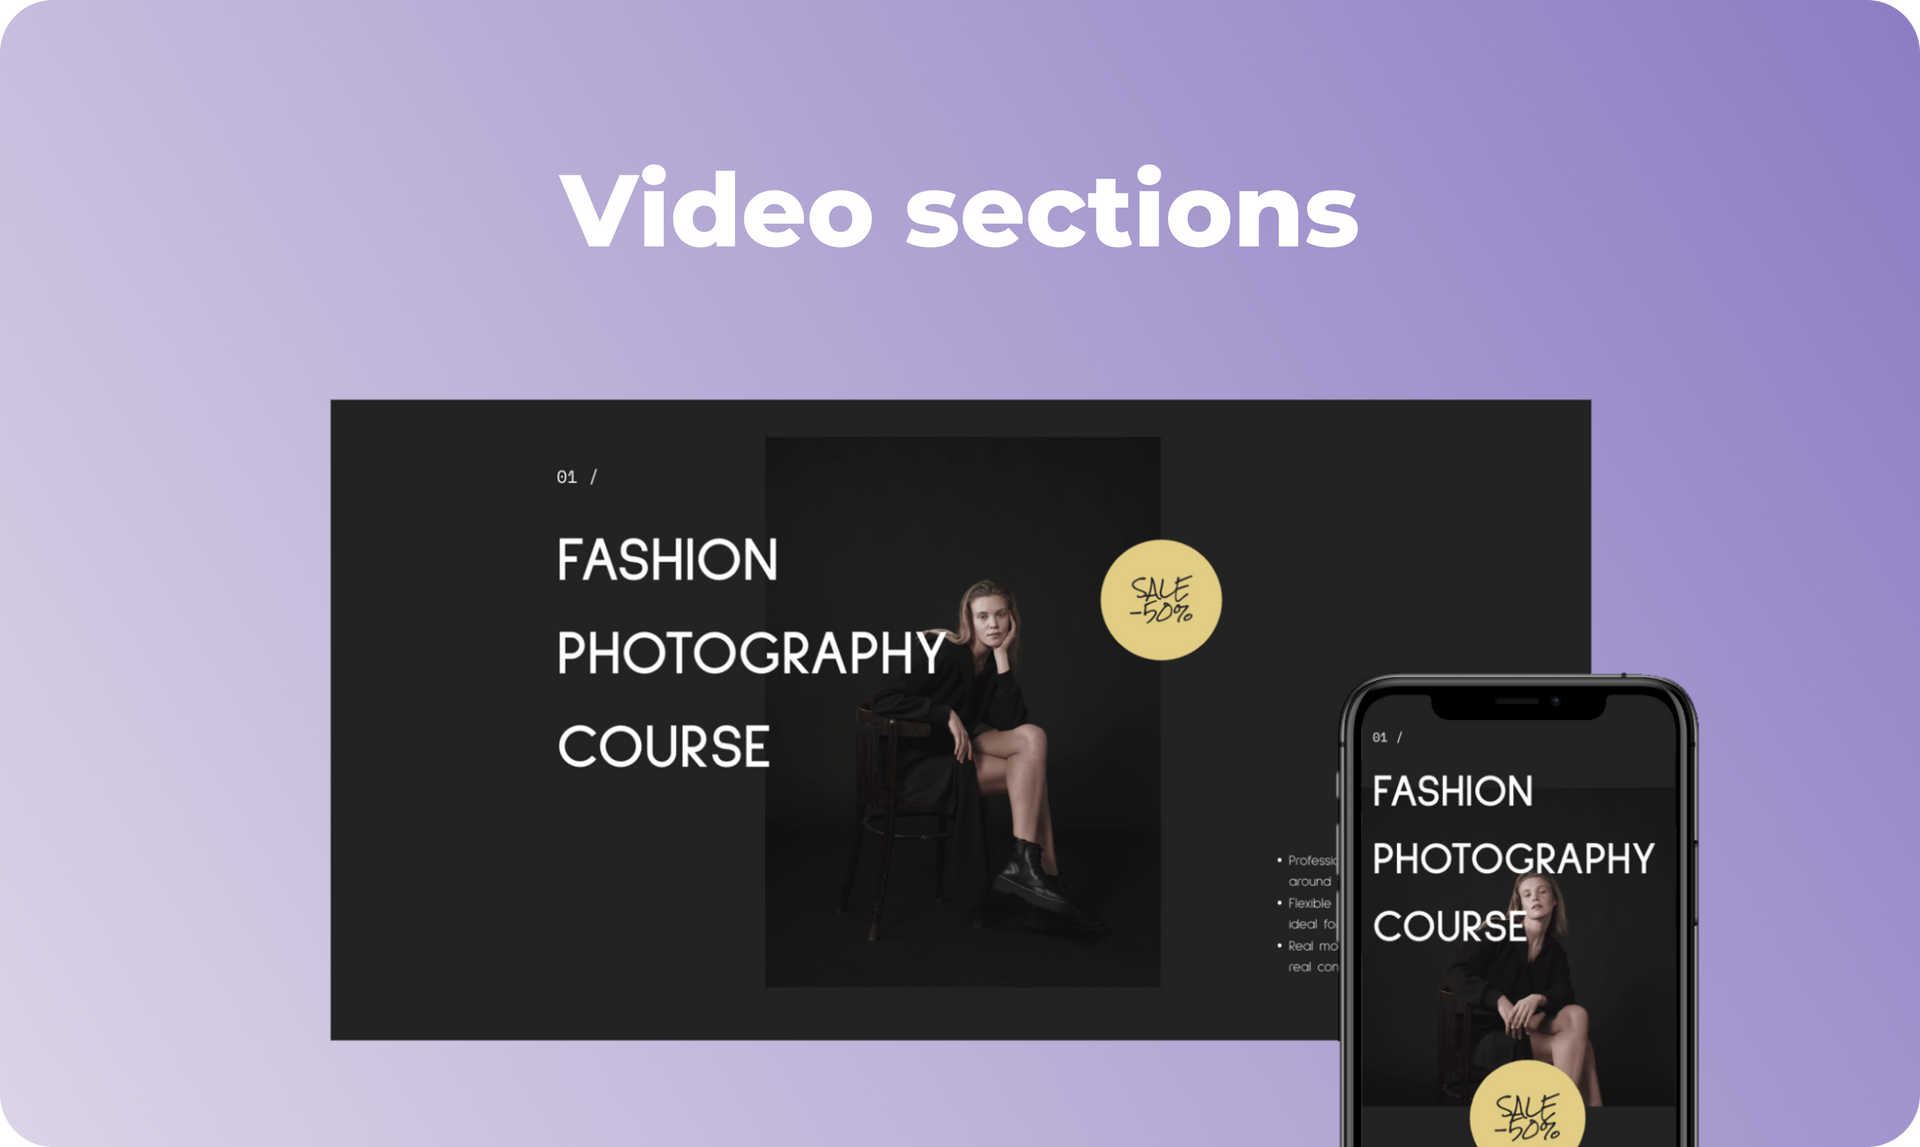
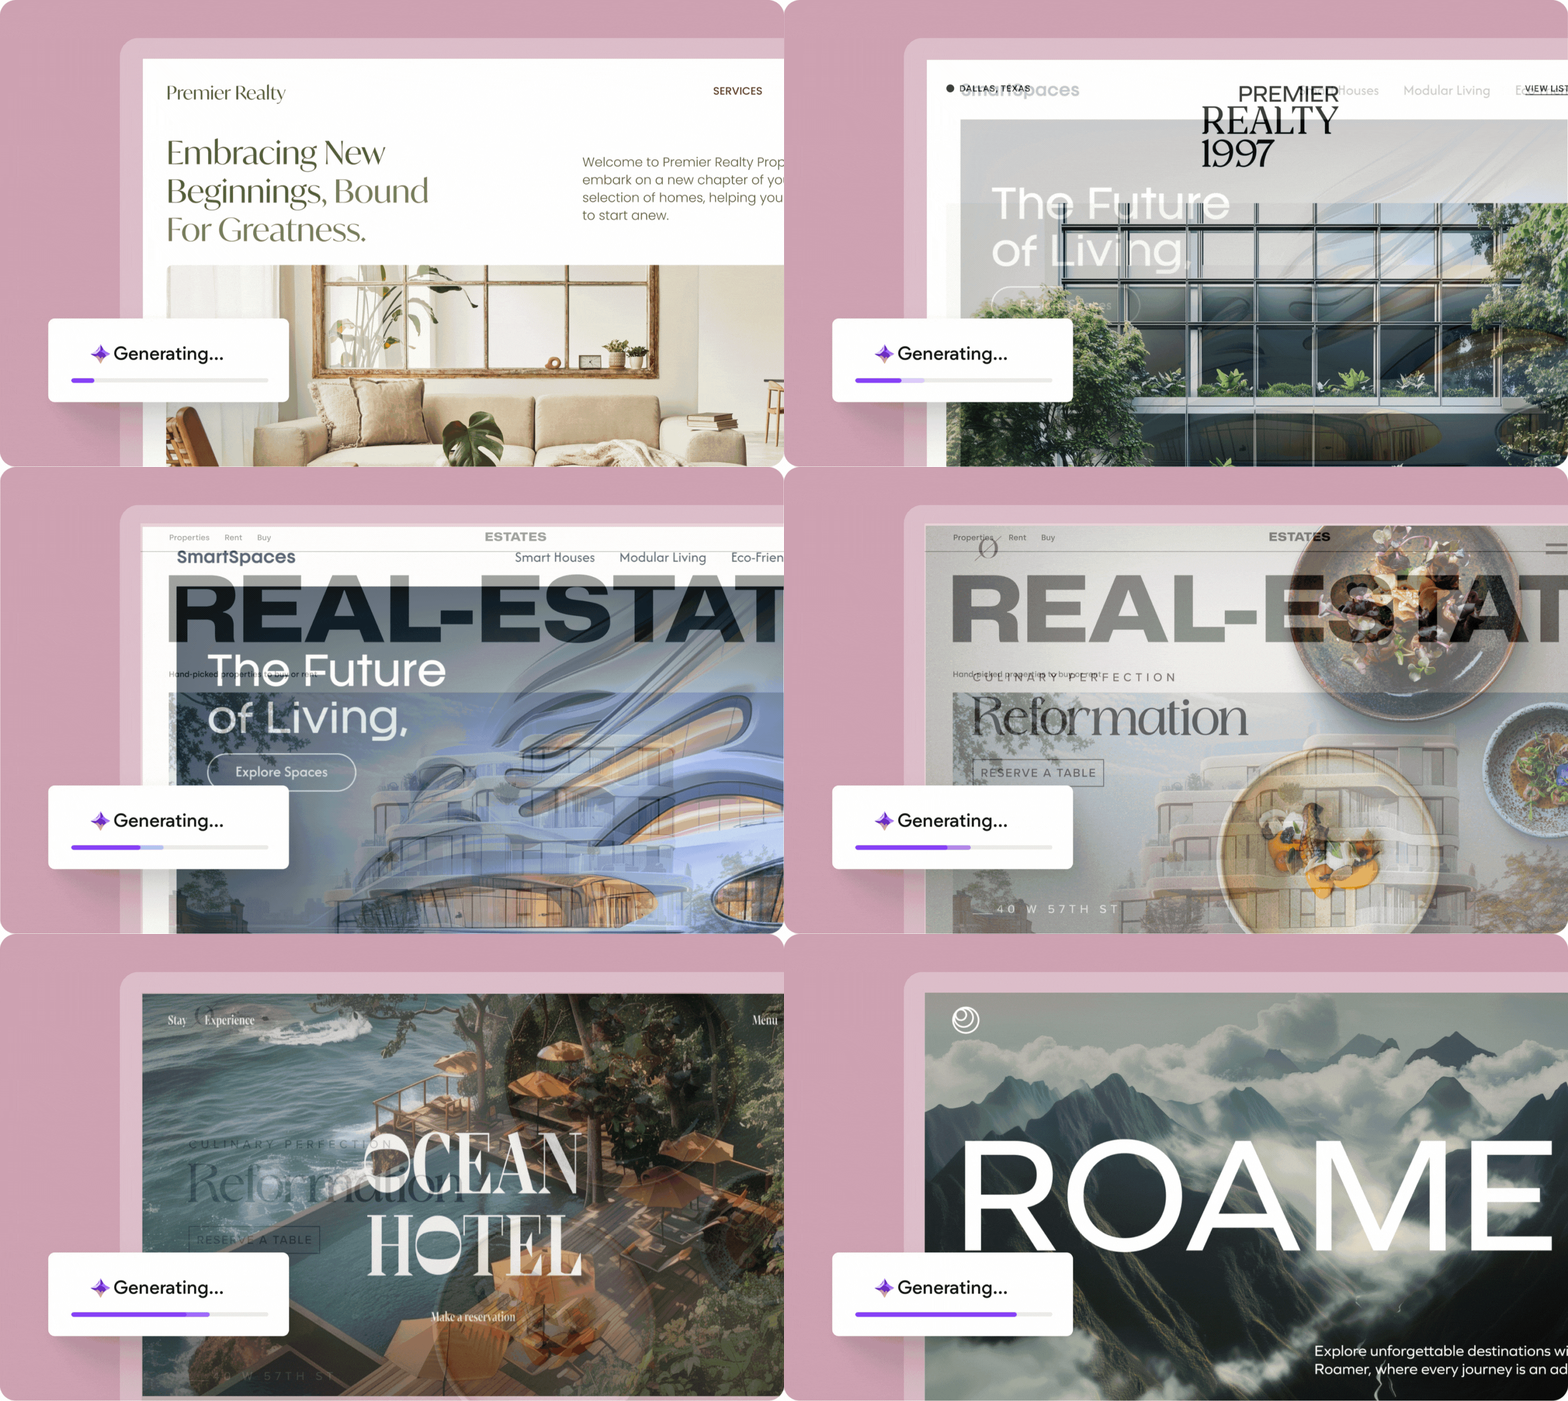
Ready, set, action! You've got 10 great Video Sections, newly added to the editor. Located between the Gallery and Events categories, the new Video category has 10 striking designs that are perfect for a range of site styles.

Hero Video Sections

Testimonial Video Sections

Text & Video Sections

Scroll down to see all the new Video Sections. Immediately below these images, you'll see  step-by-step instructions for recreating one of them on your own.


You can use these Sections as Hero images (with video background), for testimonials (show people giving feedback via video), for services, store categories and so much more.


Remember: You can now upload videos directly to the editor - no need to upload them first to an external platform. This makes adding videos to your sites that much easier!

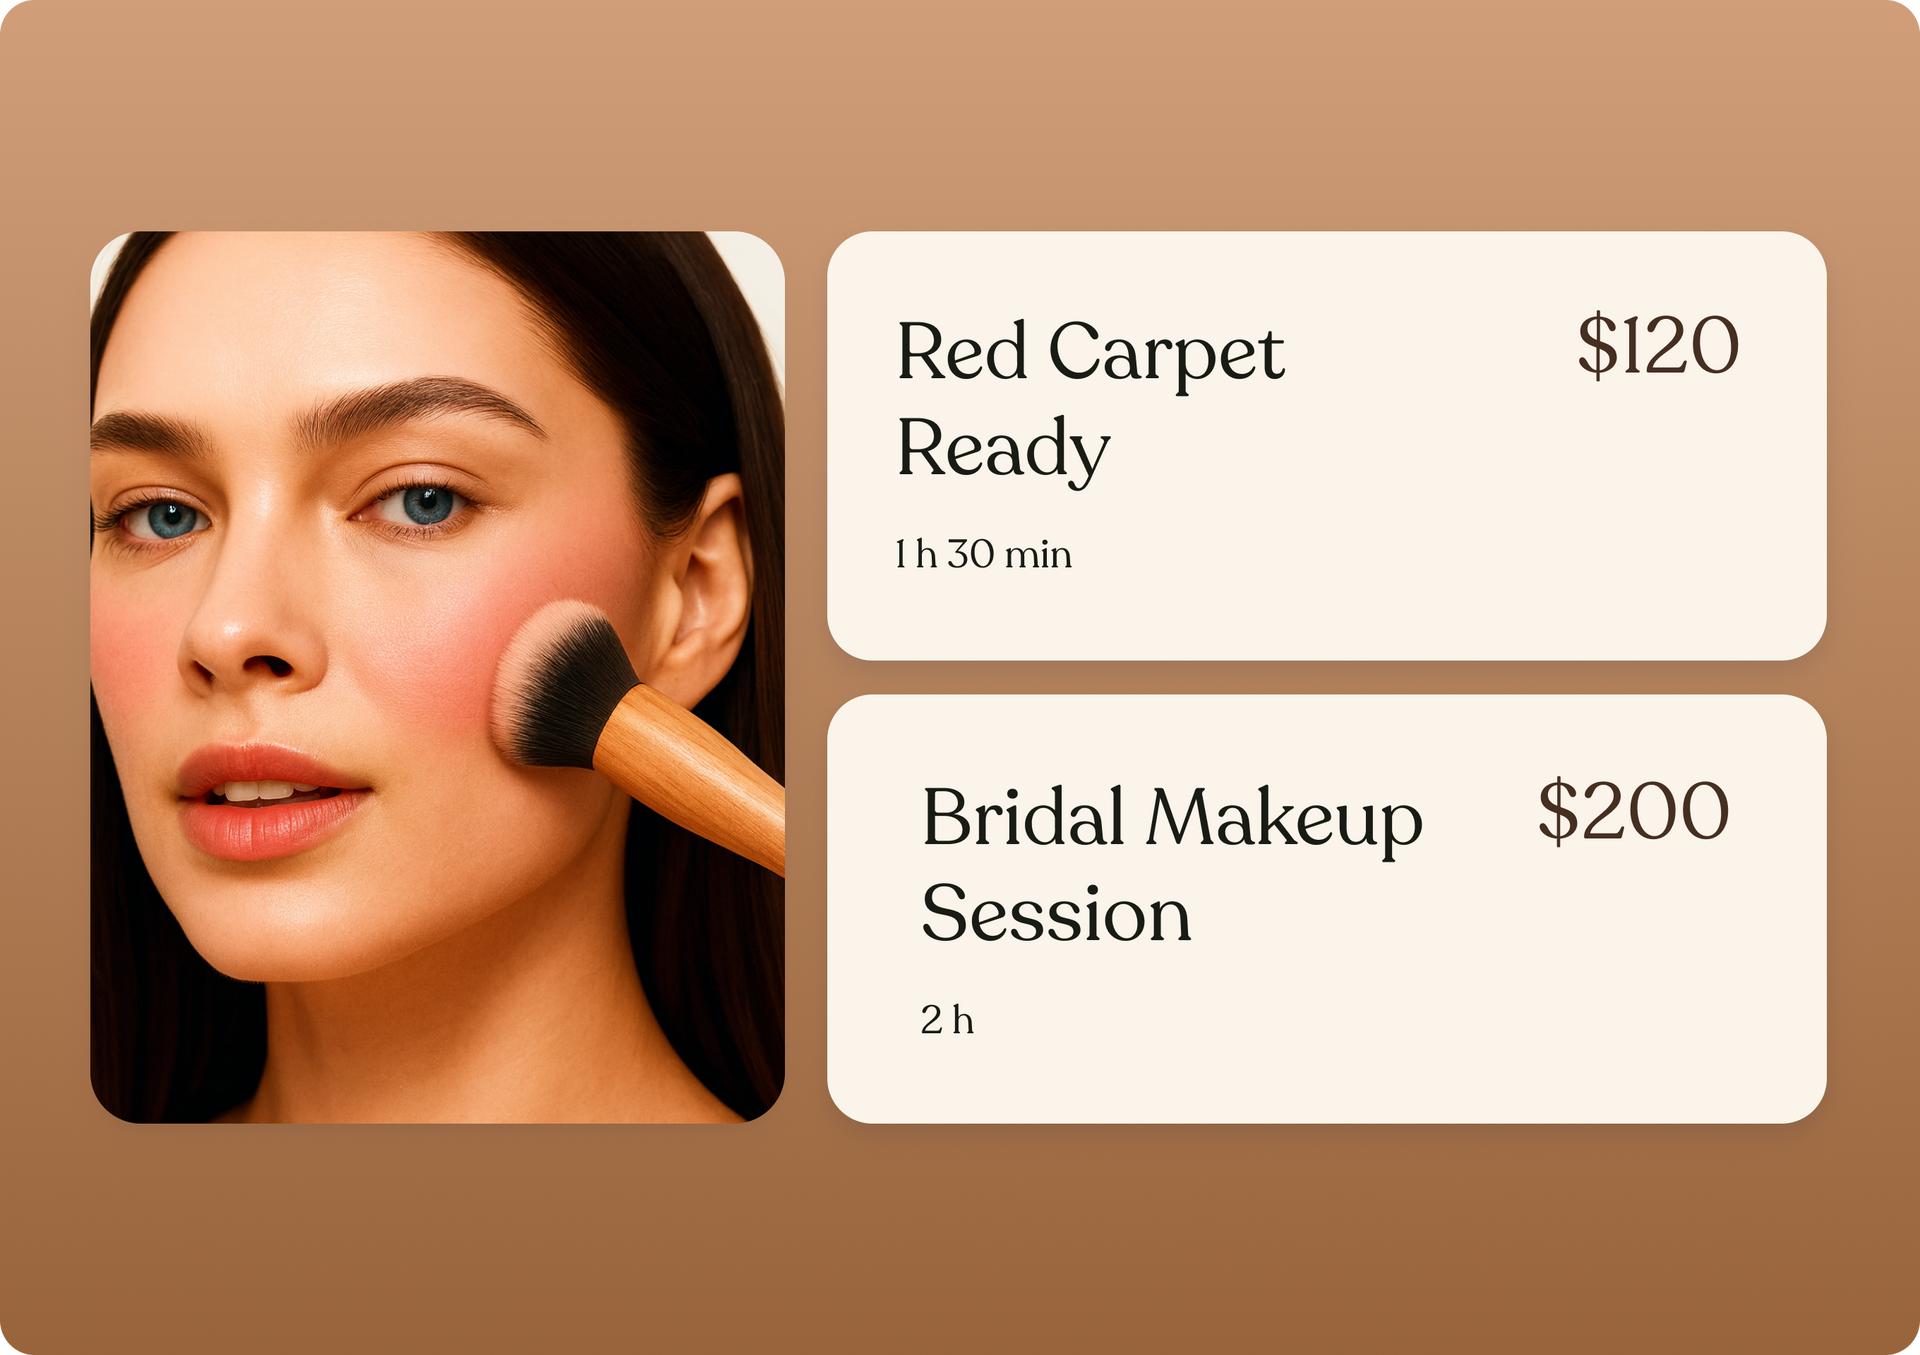
Shops & Services Section

How-to Guide for Recreating A Section

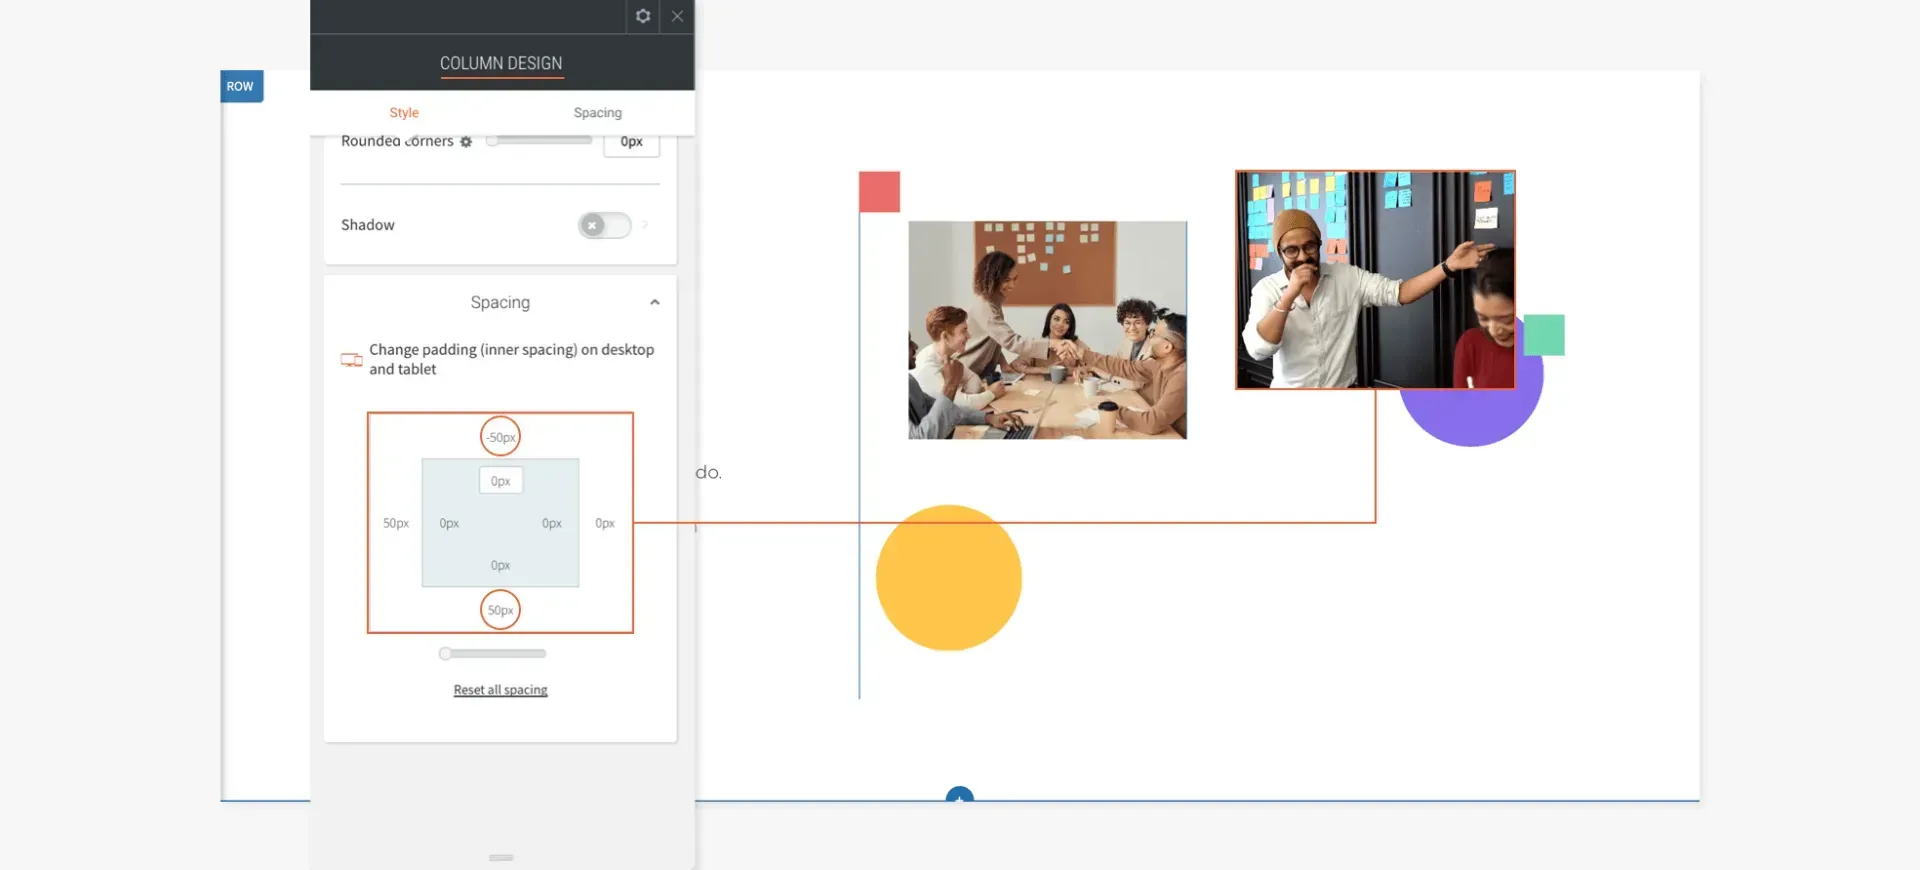
  1. Set the column spacing: set the left and bottom margin to 50 px and the top margin to -50 px.

1. Copy the inner row and paste it immediately below.

2. Replace the image with a video, and the video with an image, to create variety. 


Adjust for Mobile


To set the mobile version of this section, open the mobile view and adjust as follows: 


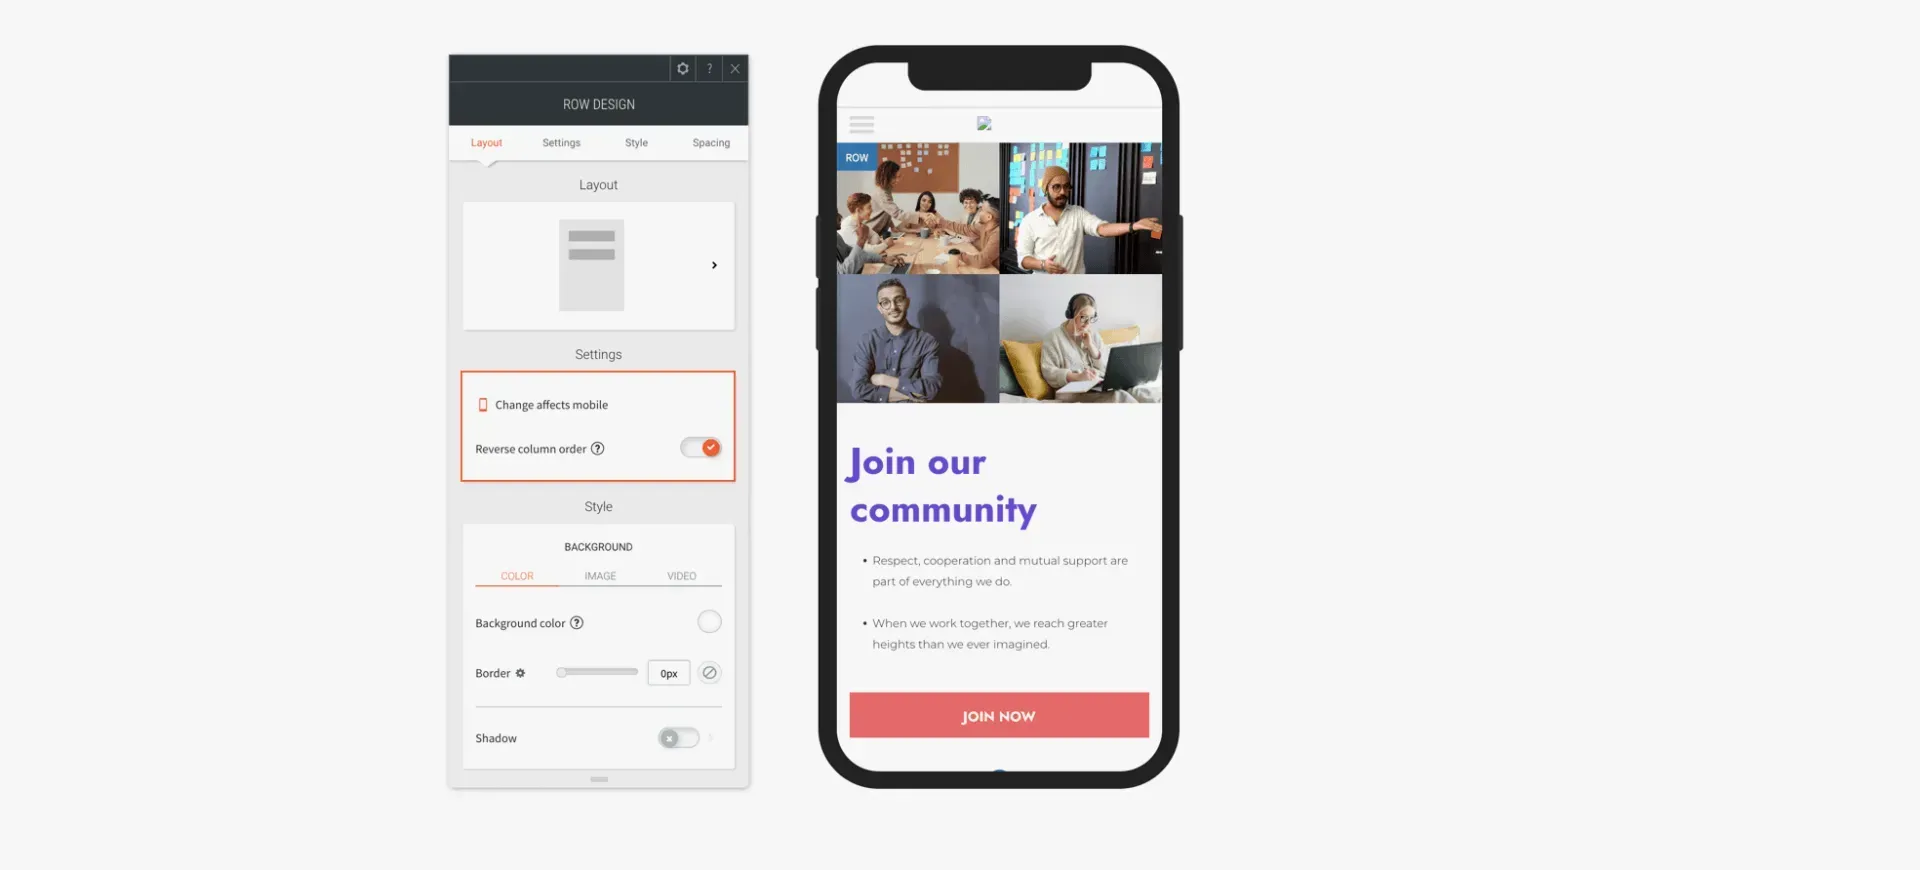
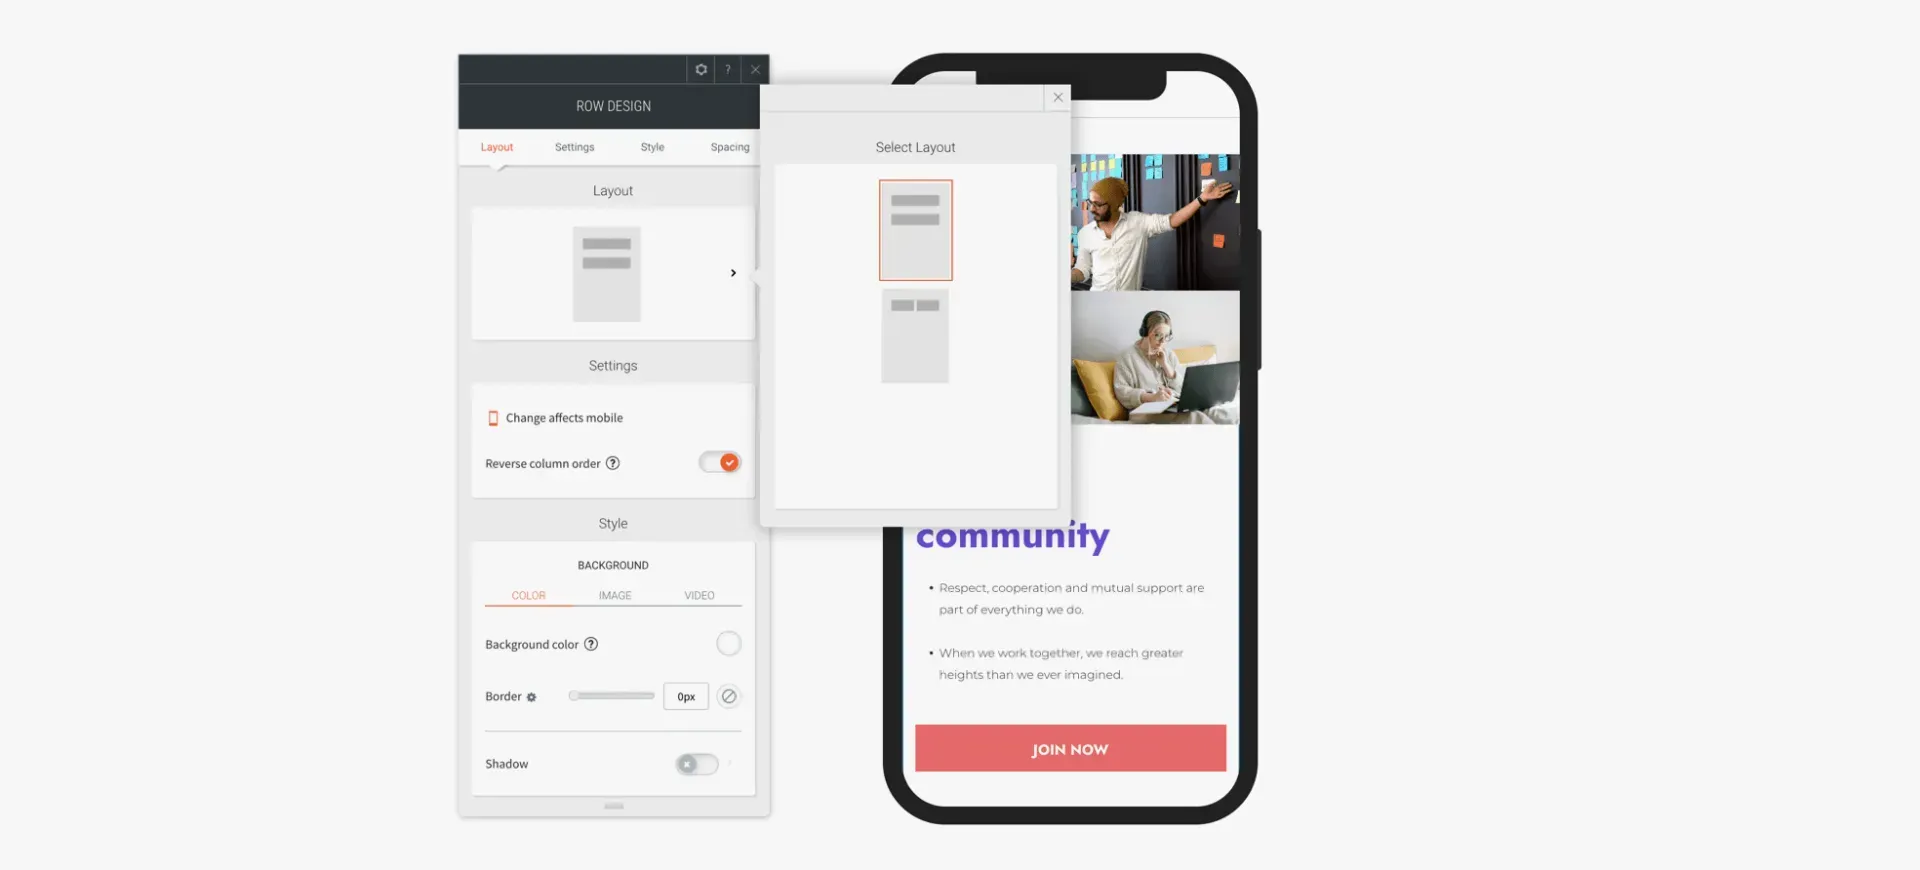
  1. Open the row editor: Choose the two row layout.
  2. Reverse the column order so the gallery displays above the text.
  3. Reset all spacing to 0px.

Open the inner row editor:


  1. Reset all spacing to 0px.
  2. Change the inner row layout to 2 columns.
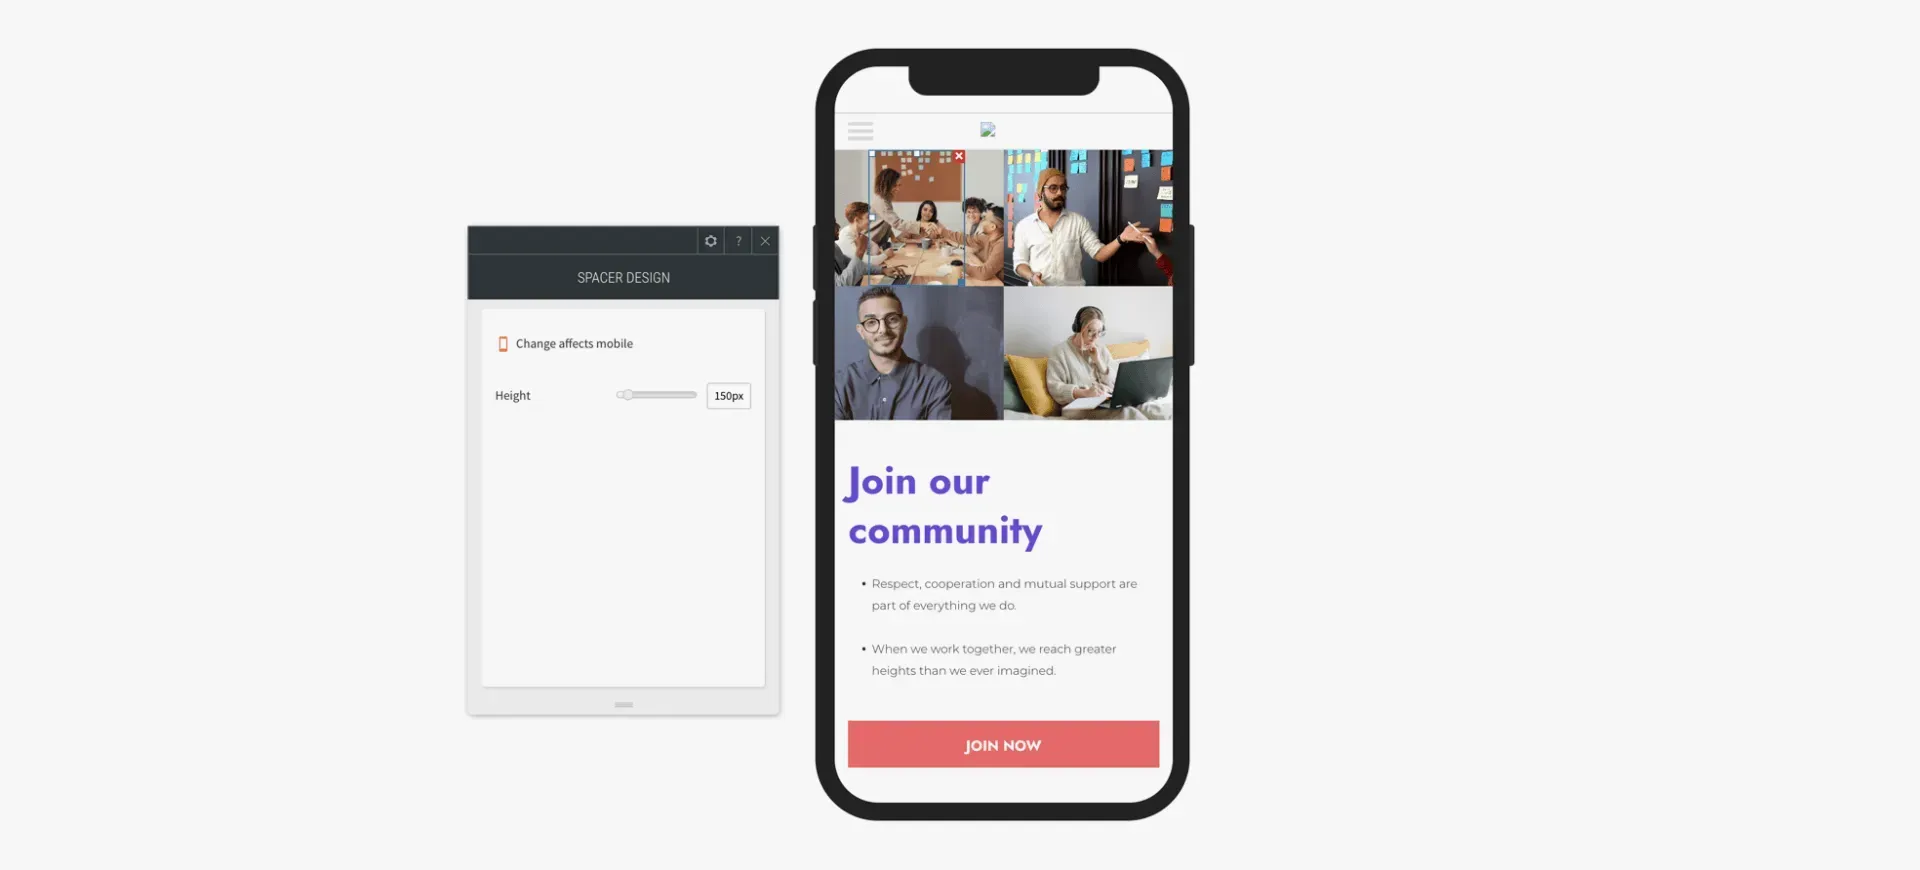
  1. Set the spacers on all the columns (both background images and videos) to 150 px.

Remember: If you've built a section and love it, you can save it and use it over and over again using Team Sections. Your teammates can also use it. Just click Save as Section, give it a name, and it will be saved for future use. 

To recreate this Section on your own, follow these steps. 


  1. Add a row. Set the row background color to white, set the right and left padding to 40px, and the top and bottom padding to 100px.
  2. Add another column to the row so you have 2 columns.
  3. In column 1, add 3 widgets: Title, text and button.
  4. In column 2, set all padding (top-bottom-left-right) to 50 px.
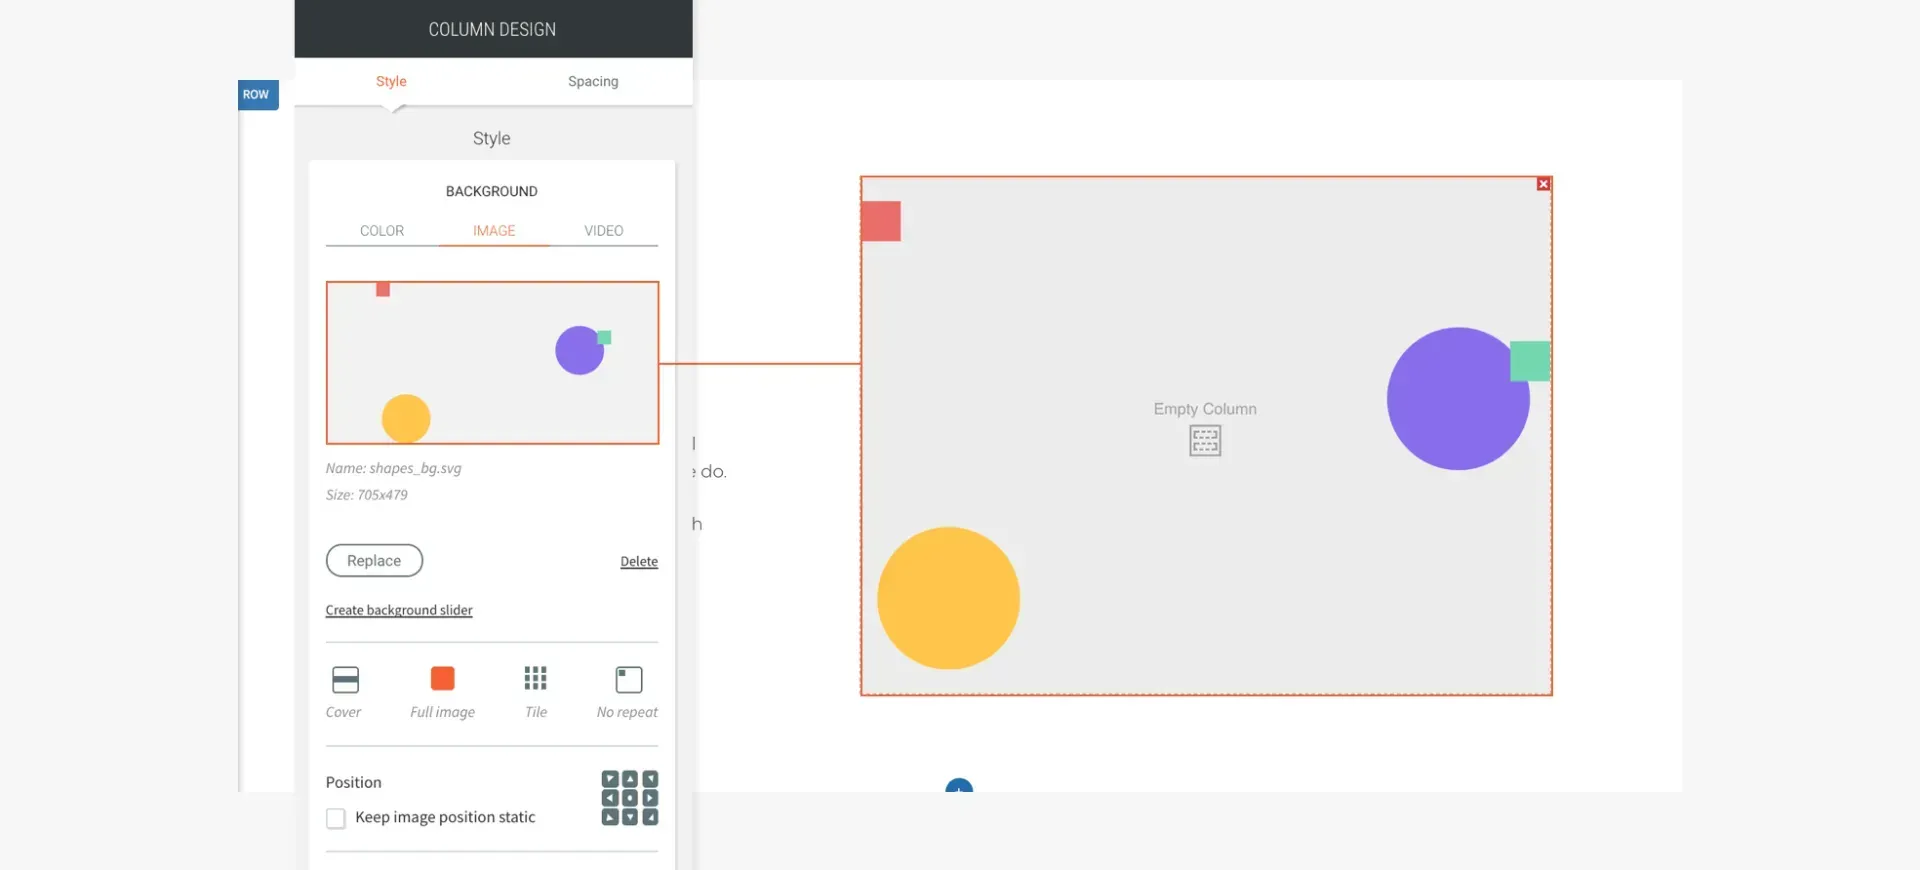
  5. Add a background image with shapes in png (so you keep a transparent background) and set the position to “Full image”.
  1. Add an inner row (with 2 columns):
  2. In column 1: Add a background image and set the position to cover.
  3. Add a spacer widget and set it to the 200 px.
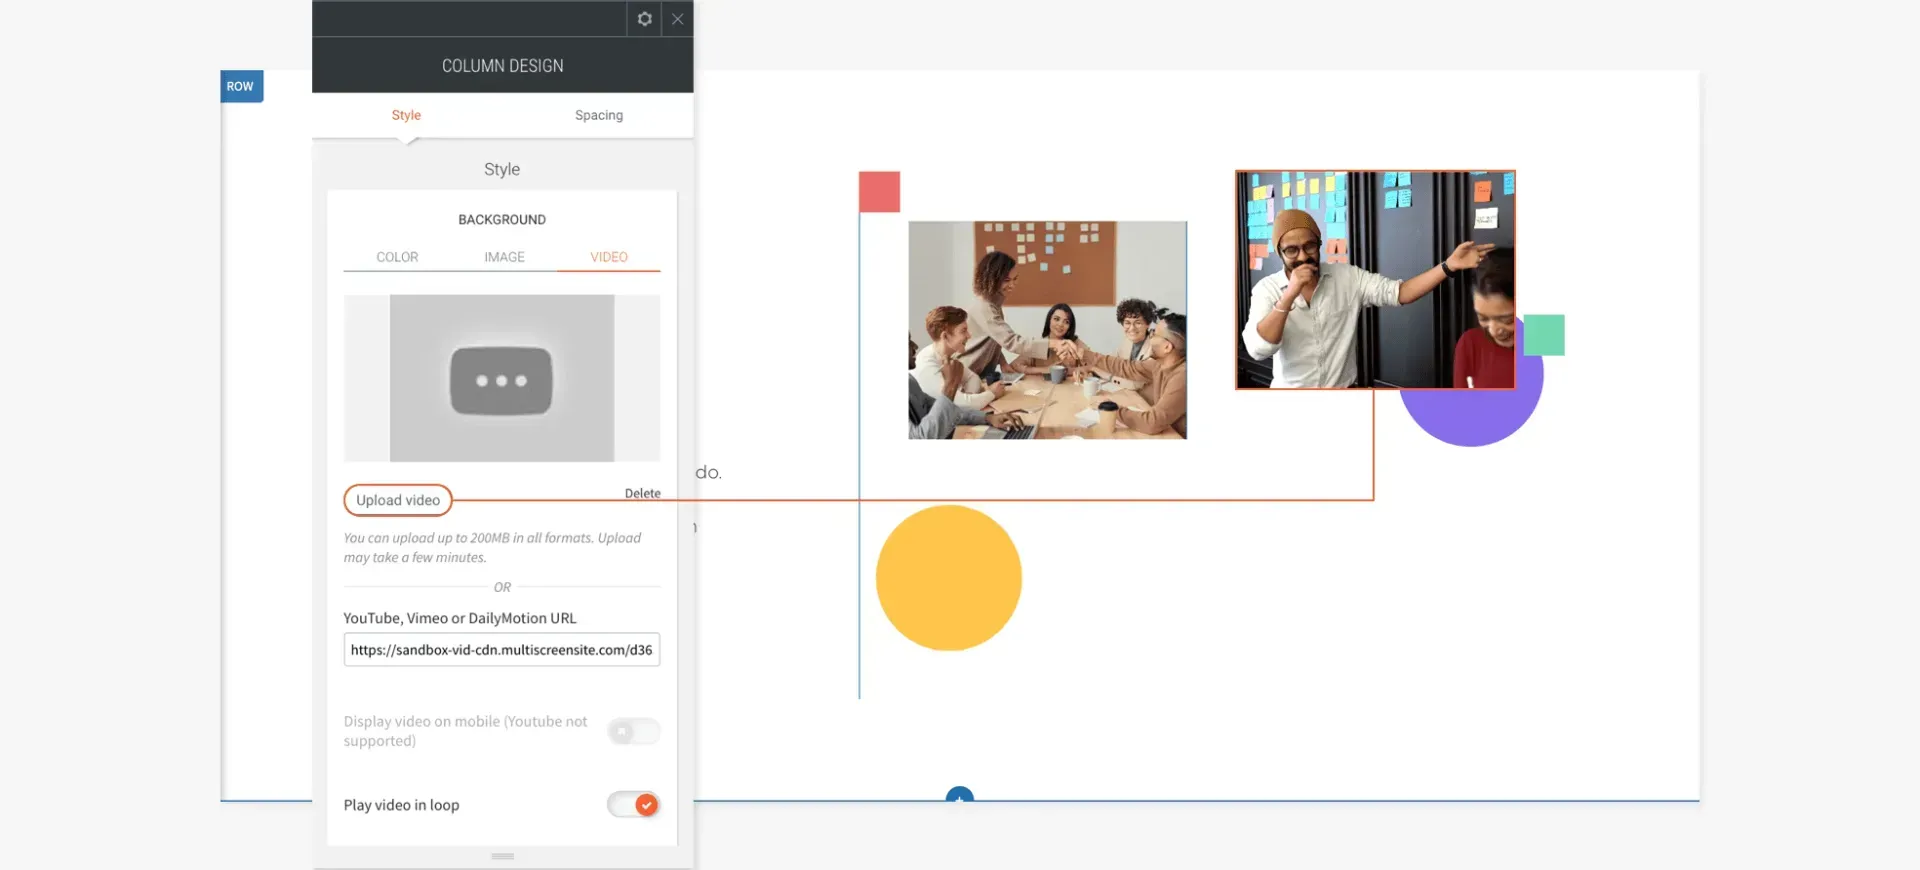
  4. In column 2: Add a background video, enable video in loop, set horizontal and vertical position to 50%.
  5. Add a spacer widget and set it to the 215 px.
  6. Hover the spacer until you see a small blue square in the bottom right corner. This square enables you to change the spacer’s dimensions. Drag the square inwards to make it more narrow than the column.
October 13, 2020
Roni Landau

 • 

10 Gorgeous Video Sections

Latest product updates

A woman in a sports bra is standing in a field
By Hadas Moked July 8, 2025
New powerful AI capability that turns complex custom widget coding into simple conversations.
A computer screen with a tab and enter button on it
By Annat Katz July 1, 2025
Mega menus get an SEO & accessibility boost, link an external media library to Duda via API, and more.
A car is driving down a desert road with the word lx on it
By Tal Levi June 27, 2025
Most websites aren’t ready for AI search, but your Duda sites are.