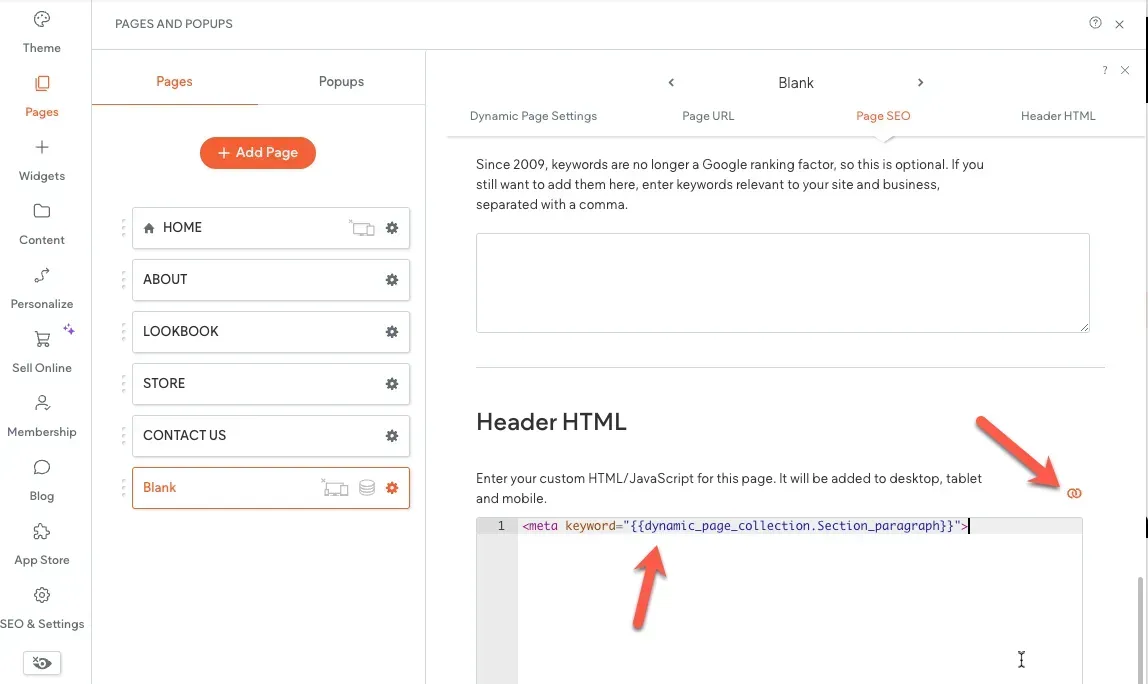
If a site consists of a dynamic page, that’s connected to the same collection as the table, each row will be linked to the dynamic page item by default.
The following field types are supported:
Rich text, Plain text, Image, Link, Number, Date & Time, Email, Phone and Multi-select.
How to connect a table widget
- Create a collection in the Content Library
- Add a table widget to the site via the Widgets Panel
- Right-click on the table widget and click on “Connect to data”
- Select a collection from the dropdown
- Select the required fields from the “Fields to display” dropdown. The order of the columns in the table is equivalent to the order of selection.
Use case: Workout Sessions Pricing Tables
Let’s say a fitness studio approached you to create a
website. They would like to have the site present a list of available sessions, when they'll take place, number of participants, price, etc. Clicking on a session in the list should navigate to a registration page.
To do so, create a
Classes
collection with all the requested details (time, price, etc). Add a table widget to a page and connect it to the
Classes
collection. If you'd like to show only sessions that are still available, use a collection filter to display only rows where the “Availability” field is set to “Available”.
Use case: Students Contact Info Page
Let’s say a customer of yours requested you to add a student contact info page to their
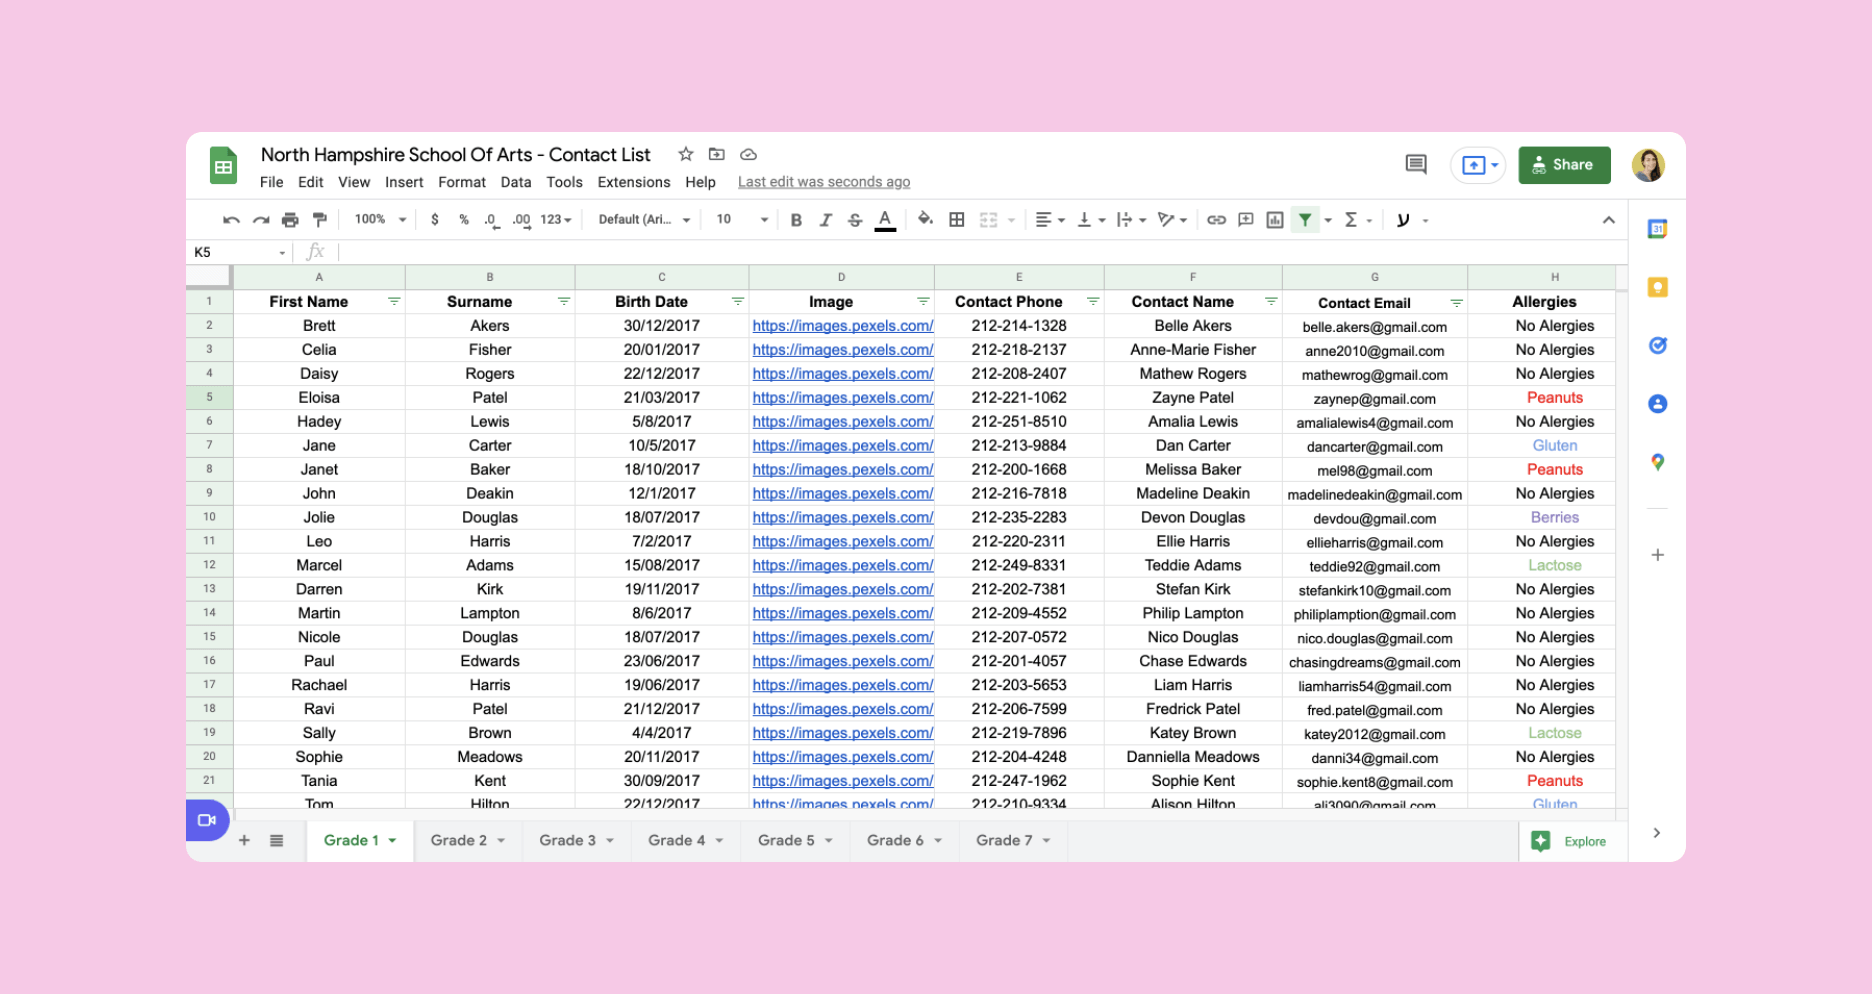
website. They'd like to present the name of the student, an image, birthday date, contact details and allergies. This information is managed in a
Google Sheet by the school administration.
To display the information in the site, create a
Students
collection from the Google Sheet. Add a table widget to a page and connect it to the collection.